FreeBSD as a desktop environment on an Intel NUC
I wanted to install a desktop environment on an unused NUC, and rather than going for Debian, I decided to go for FreeBSD, to see how easy (or not) it would be to set it up on a "modern" machine.
The machine
I have this NUC for about 5 years, and used it as an ESXi server, hosting a bunch of VMs. I made some changes on my home lab, and didn't need it anymore, so rather than having it in a drawer, I decided I would use it as my personal desktop PC.
It is not a monster, but it is powerful enough:
- CPU: Intel Core i5-5250 @1.60 GHz
- RAM: 16 GB
- HDD: 120 GB
- Wifi: Intel Dual Band Wireless-AC 7265
FreeBSD vs. Linux
I am a huge FreeBSD fan and user, but so far I used it almost exclusively on my servers: my work laptop is an Apple MacBook Pro (so it kinda counts as a BSD, but not entirely ;), and my personal phone runs Linux (SailfishOS). (My work phone is an iPhone).
I used FreeBSD as a desktop back in 2000-2005, but not much since then.
When I was fiddling with this NUC, I first downloaded a Debian ISO, but then I
decided "why not try FreeBSD, just to find out whether it's easy to setup
on a desktop these days?"
Of course Debian or Ubuntu would work perfectly and out of the box, but I really like the BSD philosophy of having a kernel which comes with a lot of useful utilities, without the need to install a gazillion of utilities when you're missing something.
...Not to mention systemd! >:)
Install options
Once FreeBSD-13.0-RELEASE-amd64-dvd1.iso was downloaded, I burnt it onto a USB
stick and booted from it.
Text or Graphical install?
Since I installed mainly servers, I used to only use the text install, but since I'm curious, I decided to try the graphical install.
Just kidding! FreeBSD is all about text install, using NCURSES menus, so I'll
use it for this install. There used to be some graphical installers as side
projects, such as PC-BSD, but they've been discontinued.
I don't really mind: as you'll see in the next section/screenshots, the
installation through NCURSES menu is really intuitive and a lot snappier than
using a GUI (in my opinion).
Using NCURSES
The below screenshots are from a FreeBSD installation onto a local virtualBox
VM, as it renders much better than a screenshot of my screen with the real
installation of FreeBSD on my NUC.
However, I'll be detailing the few differences when they occur.
Navigating in NCURSES is pretty straightforward, just use:
<tab>to switch from one menu to the other,<space>to select an option (e.g. a checkbox),<enter>to validate (e.g. when on an "OK" item).
Installing
Initial screens, keymap and system name
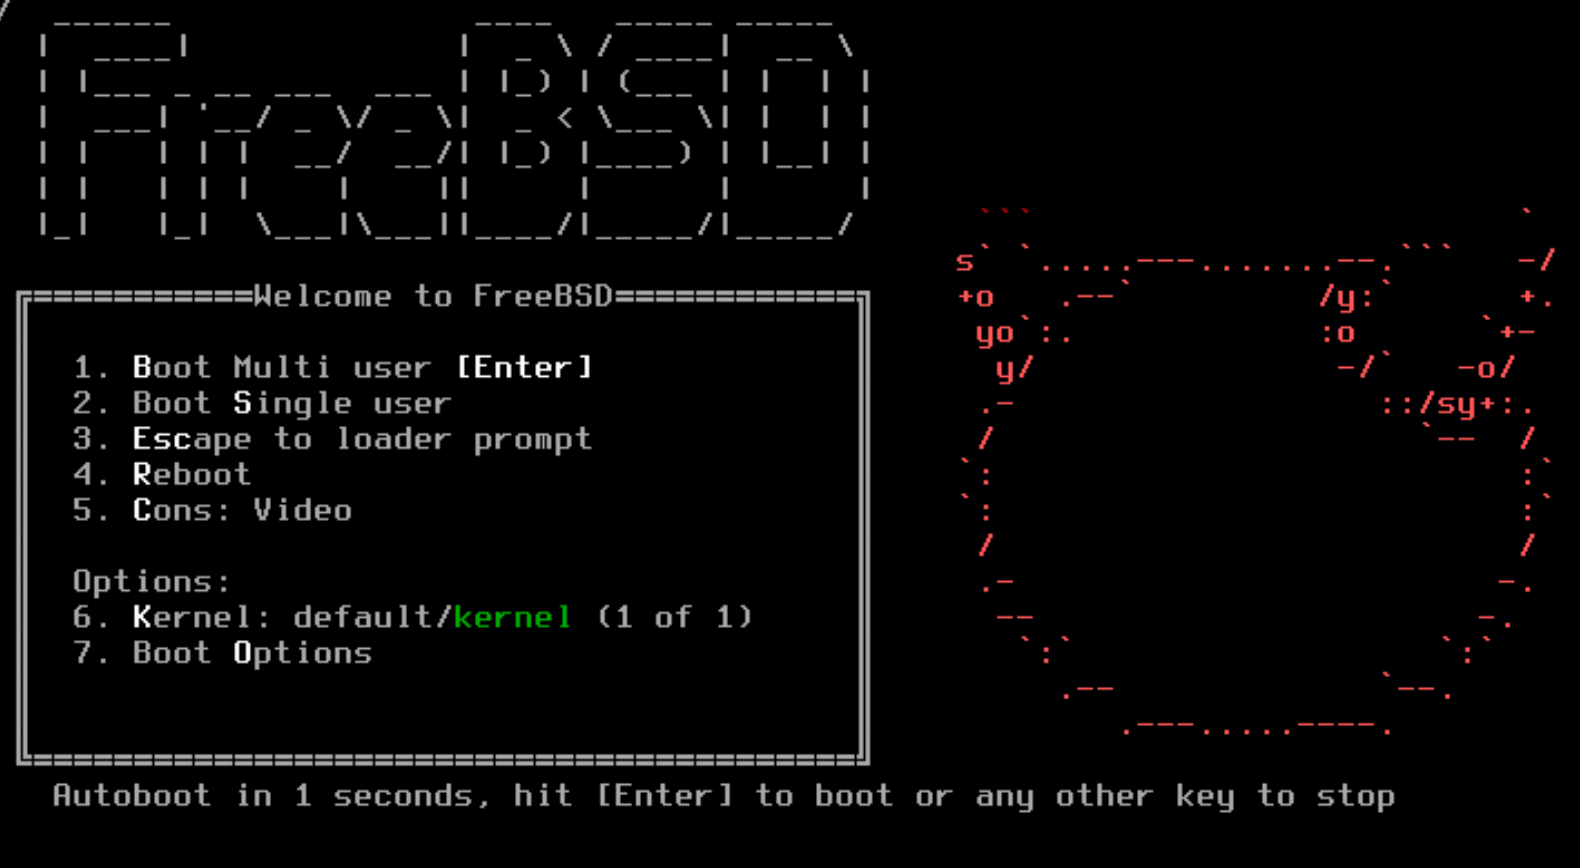
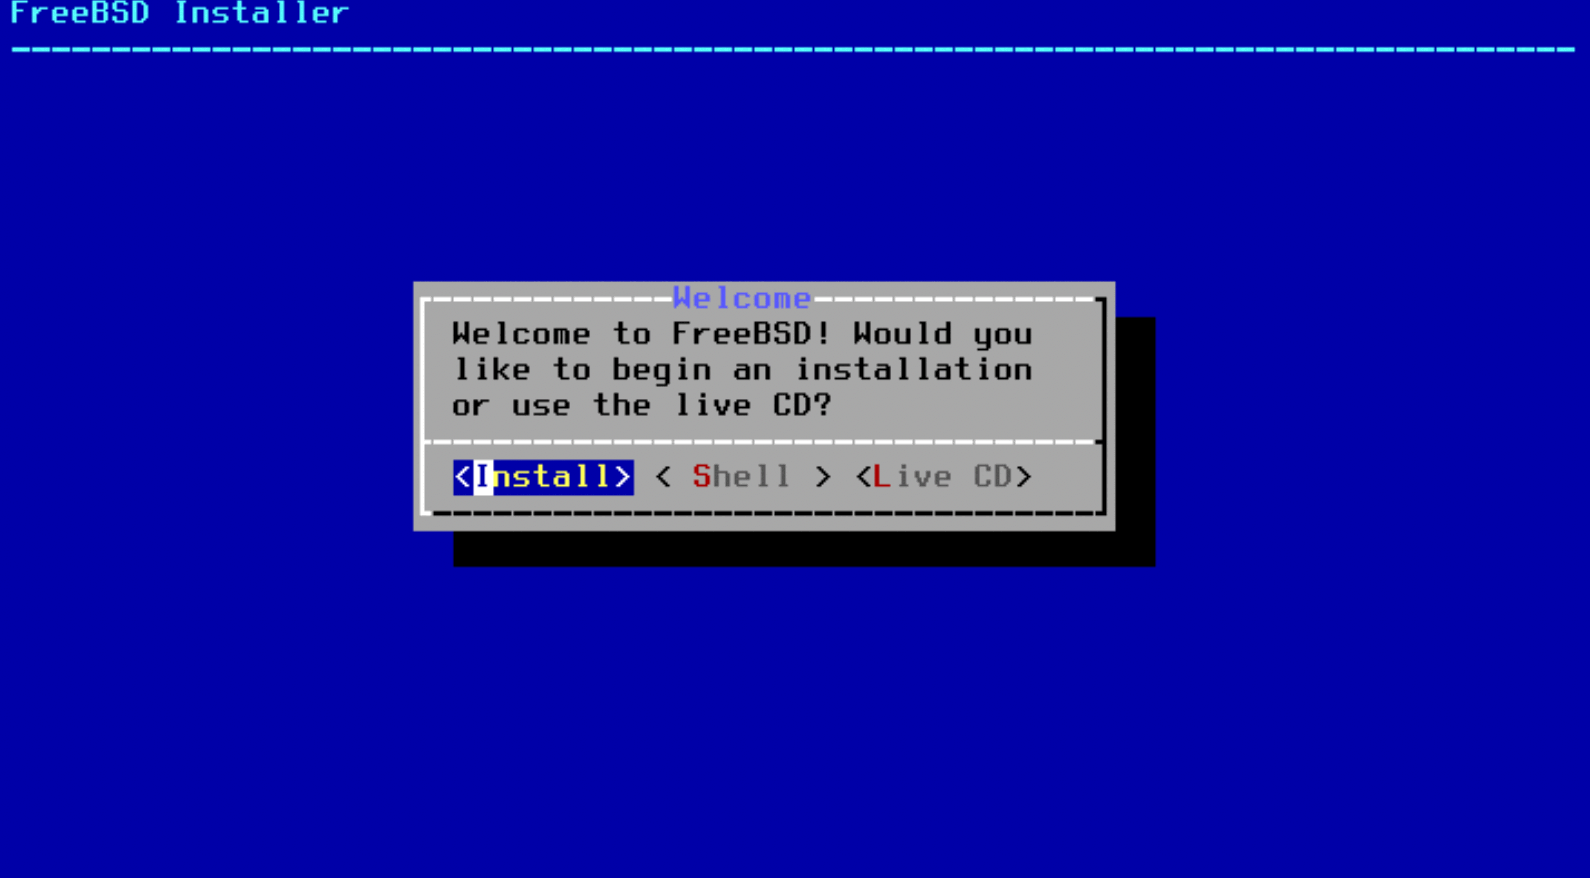
- First, we boot into Multi user, and specify we actually want to install FreeBSD.
You also have an option to run the Live CD at this stage.
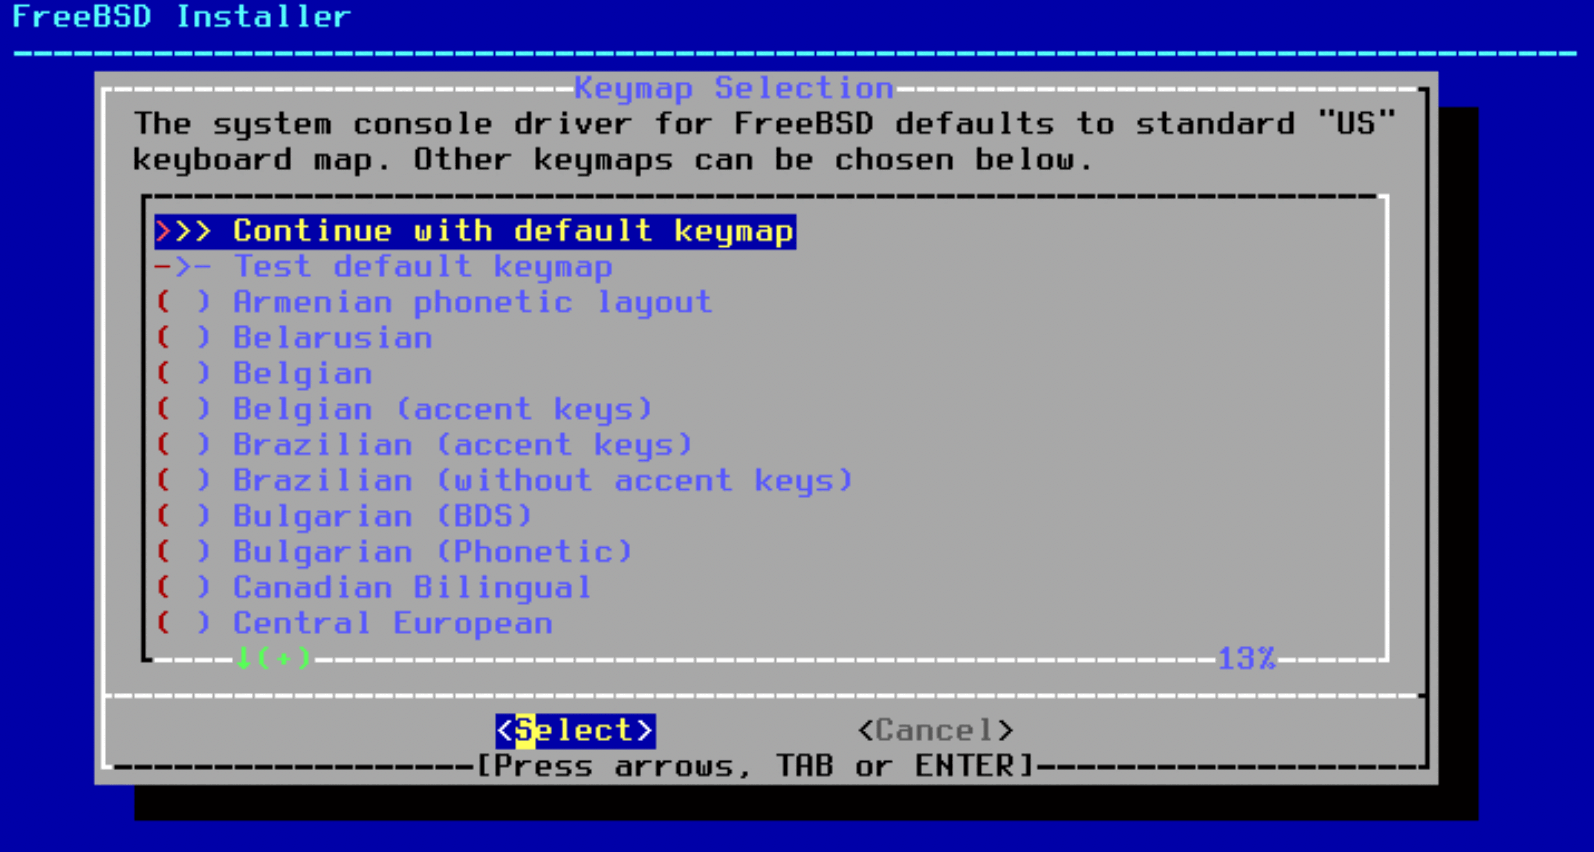
- Then I'm using the default keymap, since my keyboard is a US-International one (QWERTY)
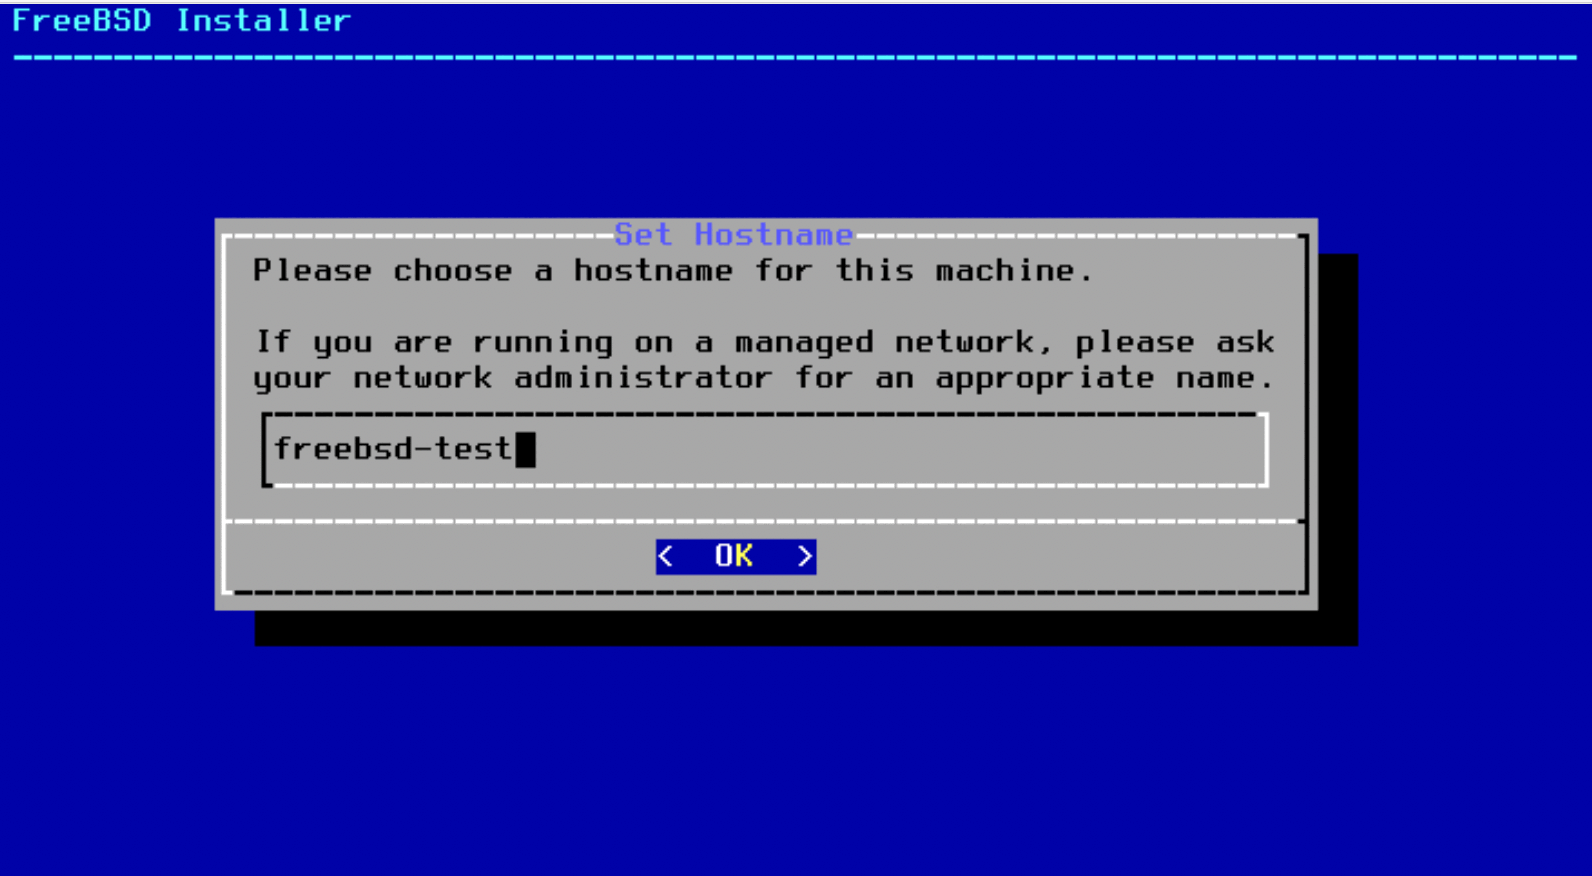
- and give the system a name (
freebsd-testin that case)
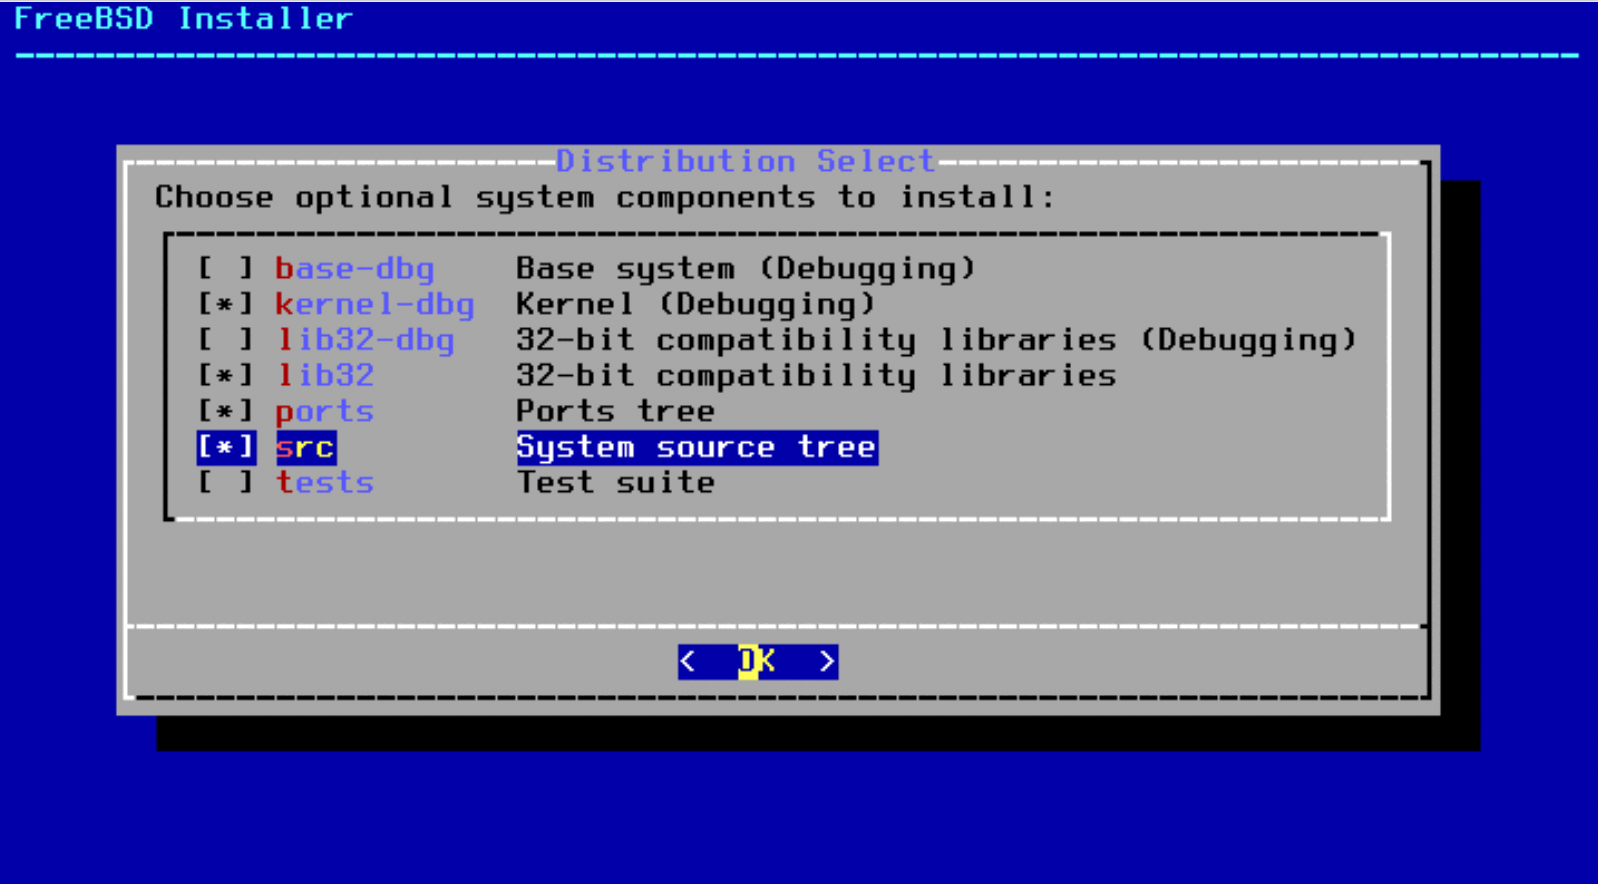
- I add
portsandsrcas optional system components, since I want to be able to compile my own kernel, and also use FreeBSD ports tree.- Note: you can install those optional components post-install, with the
bsdconfigCLI utility.
- Note: you can install those optional components post-install, with the
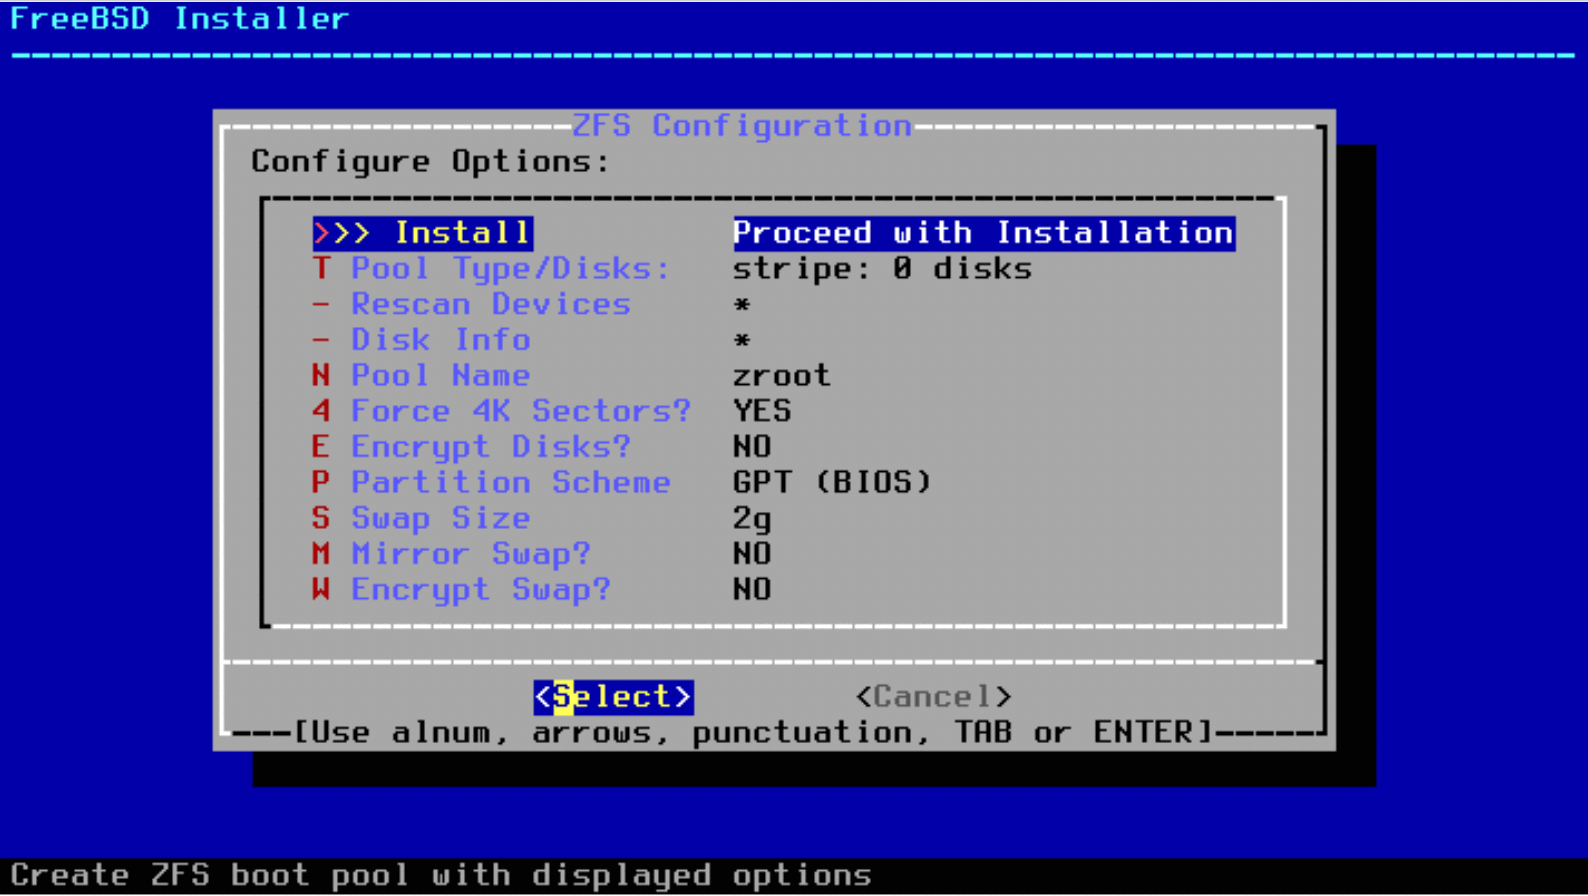
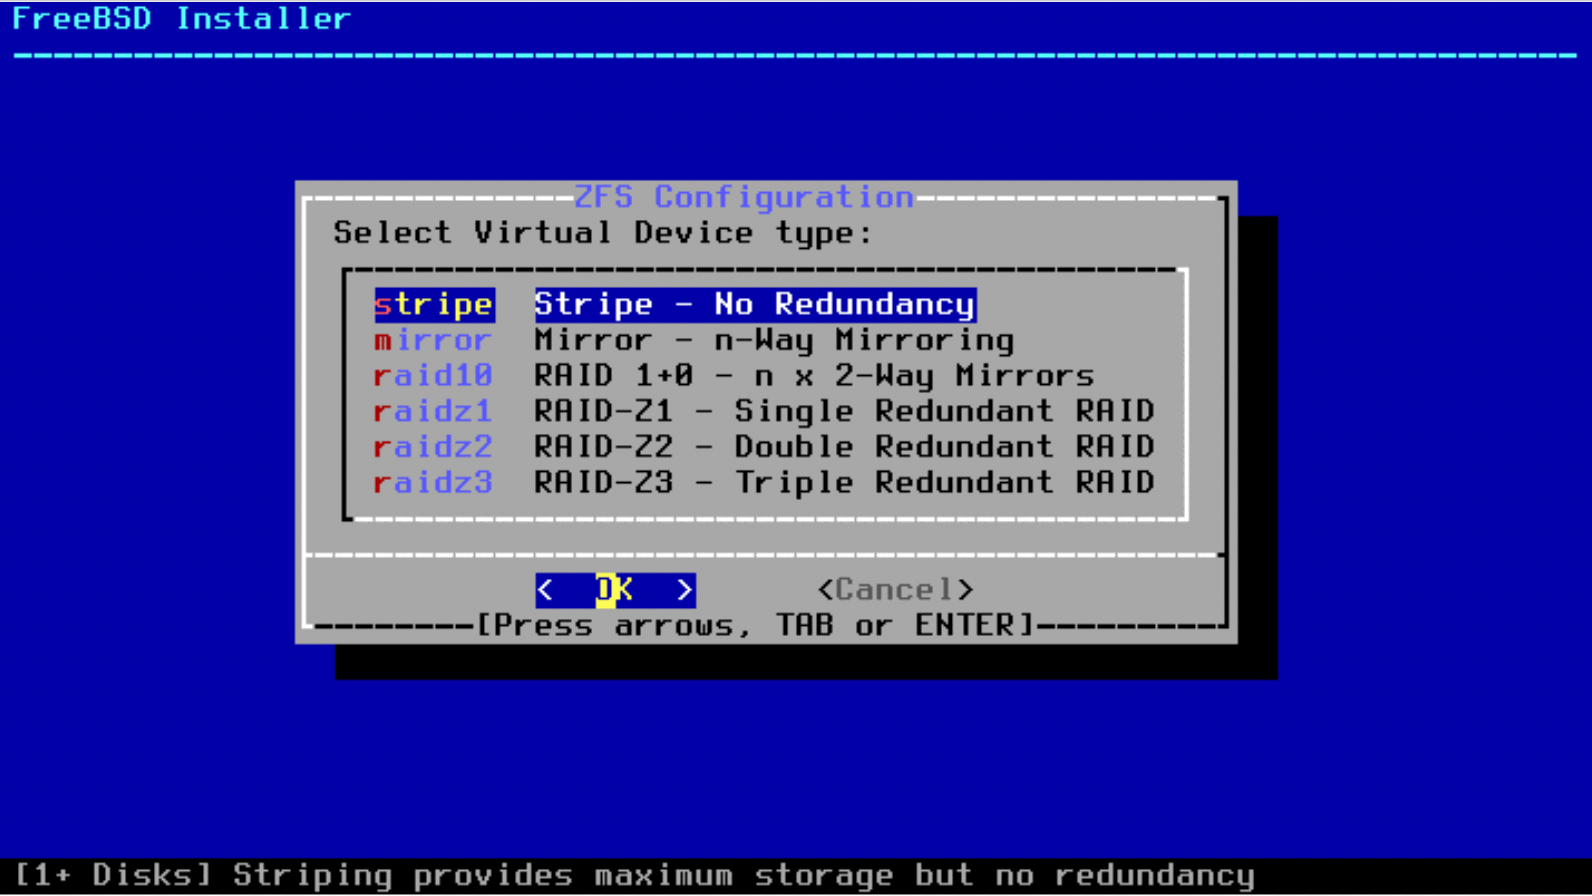
Disk partitioning
- I chose the default "Auto ZFS" partitioning
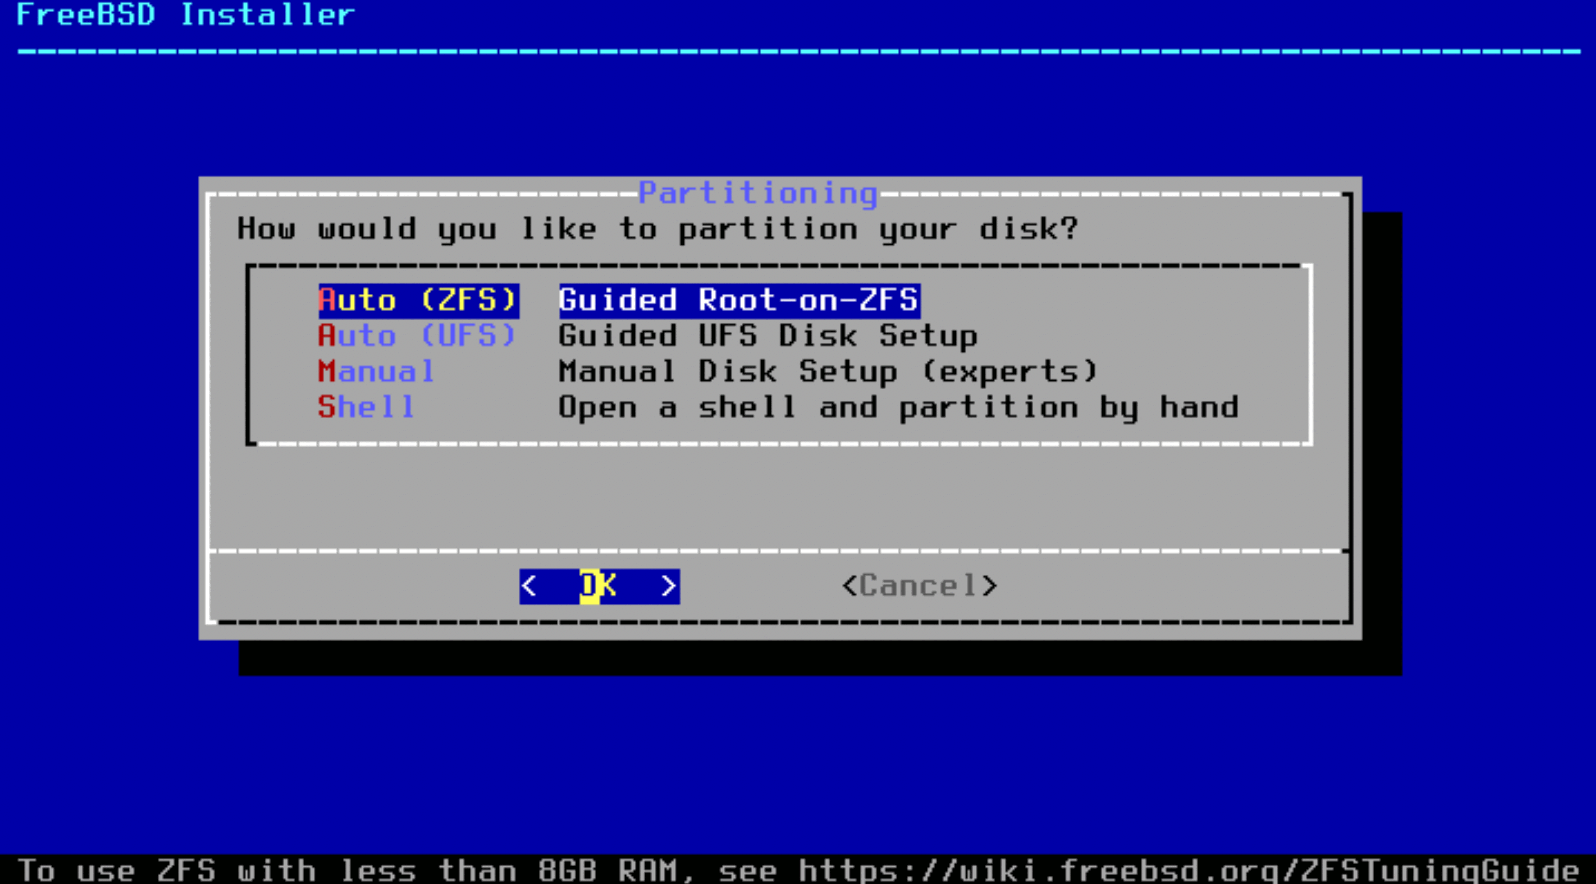
- I didn't touch the ZFS options, but feel free to do so if you like!
- Same with the disk configuration - since I have a single SSD hard-drive, I won't be using RAID
- You then choose which hard disk you're gonna use
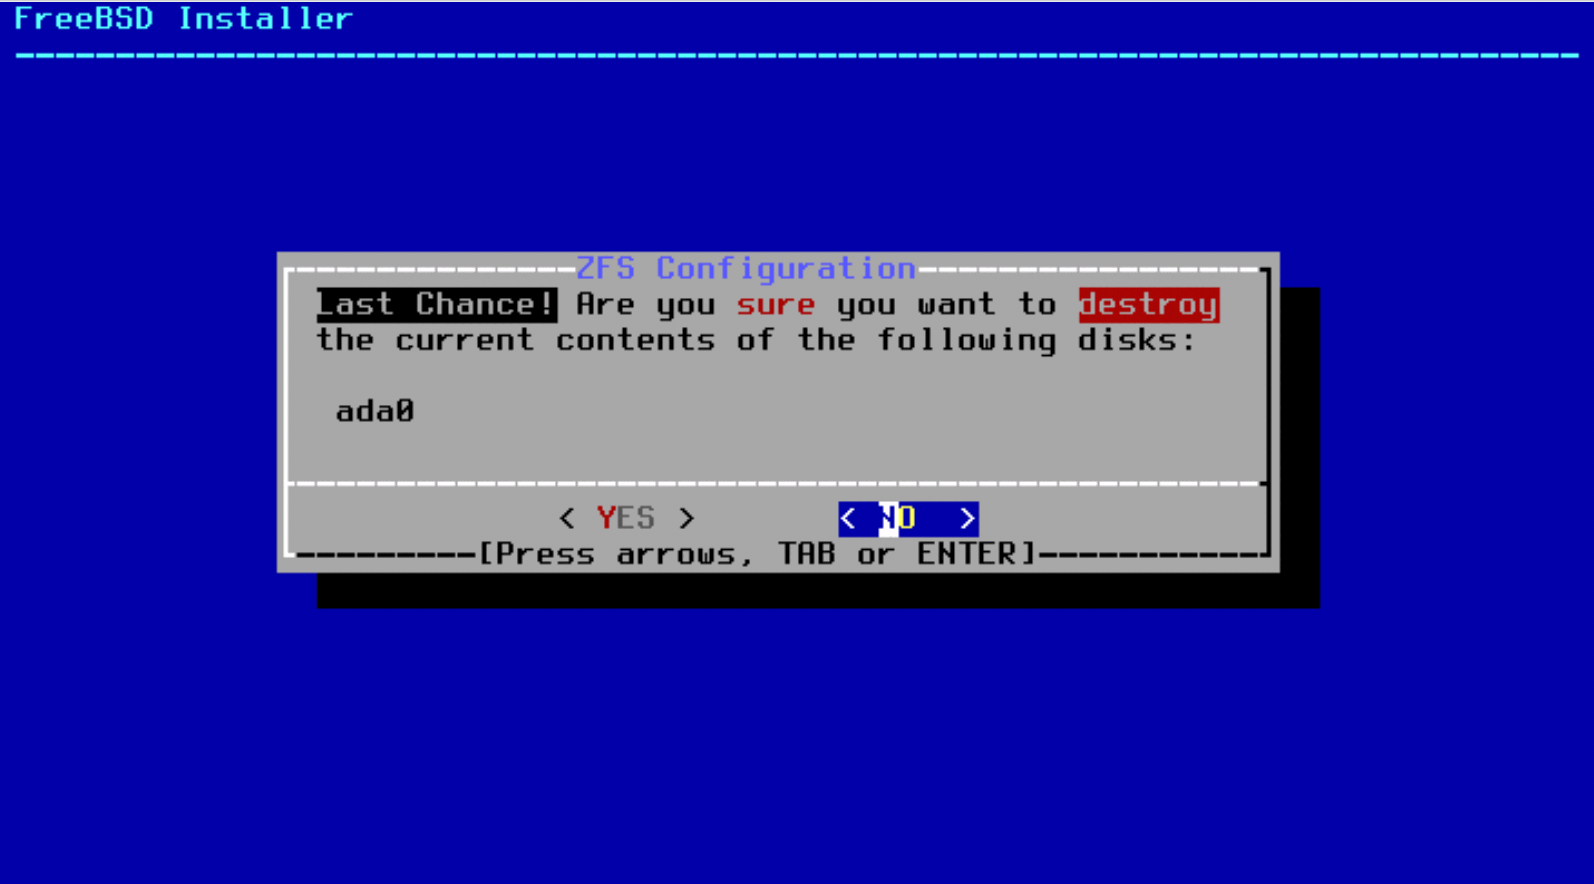
- And then need to confirm that you're really sure you want to proceed and erase the content of this disk - better checking if you have several disks!

- The installer then writes all the necessary files to disk:

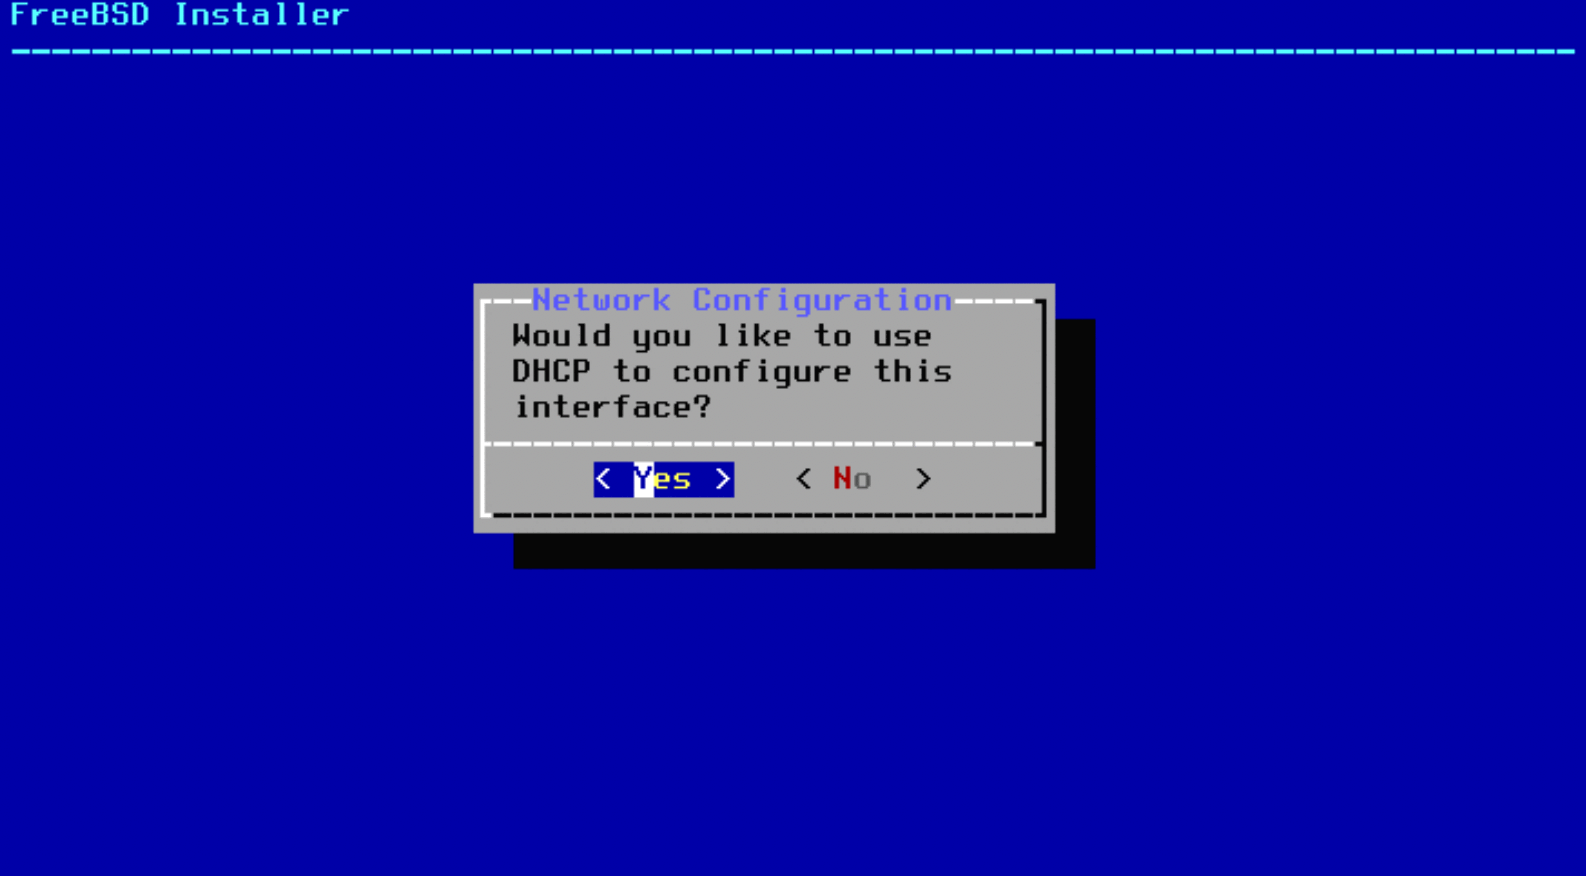
Network configuration
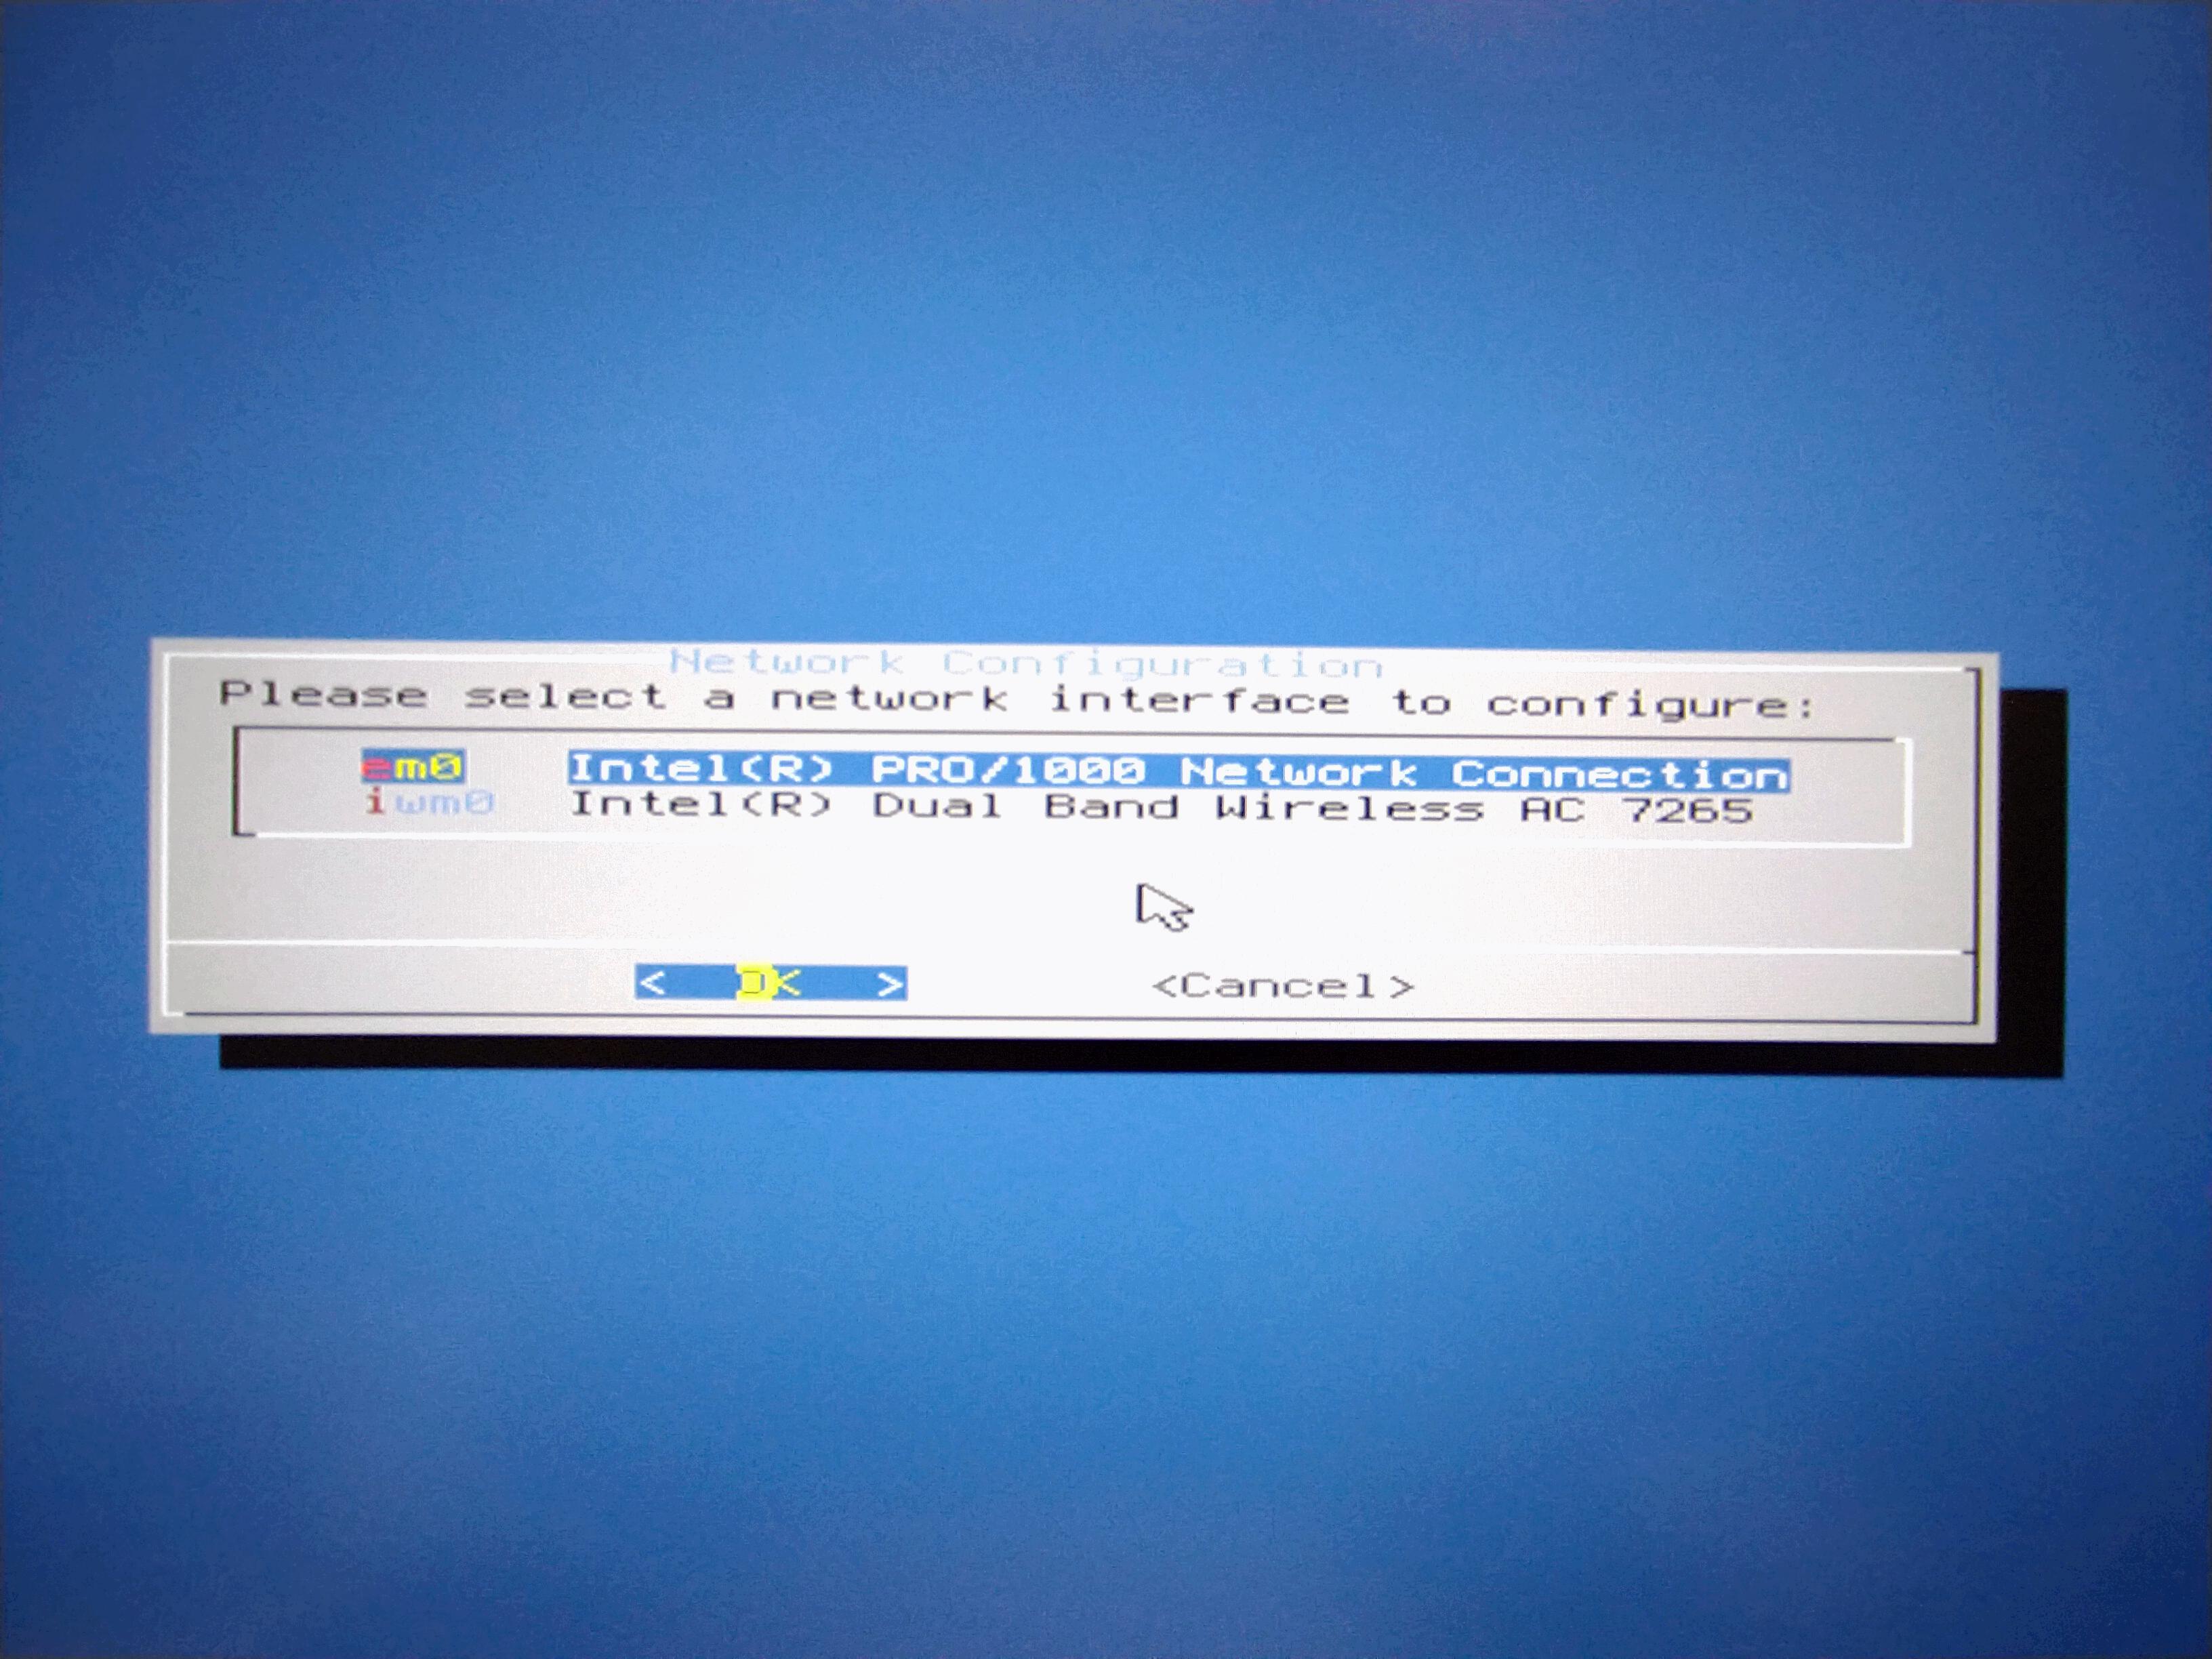
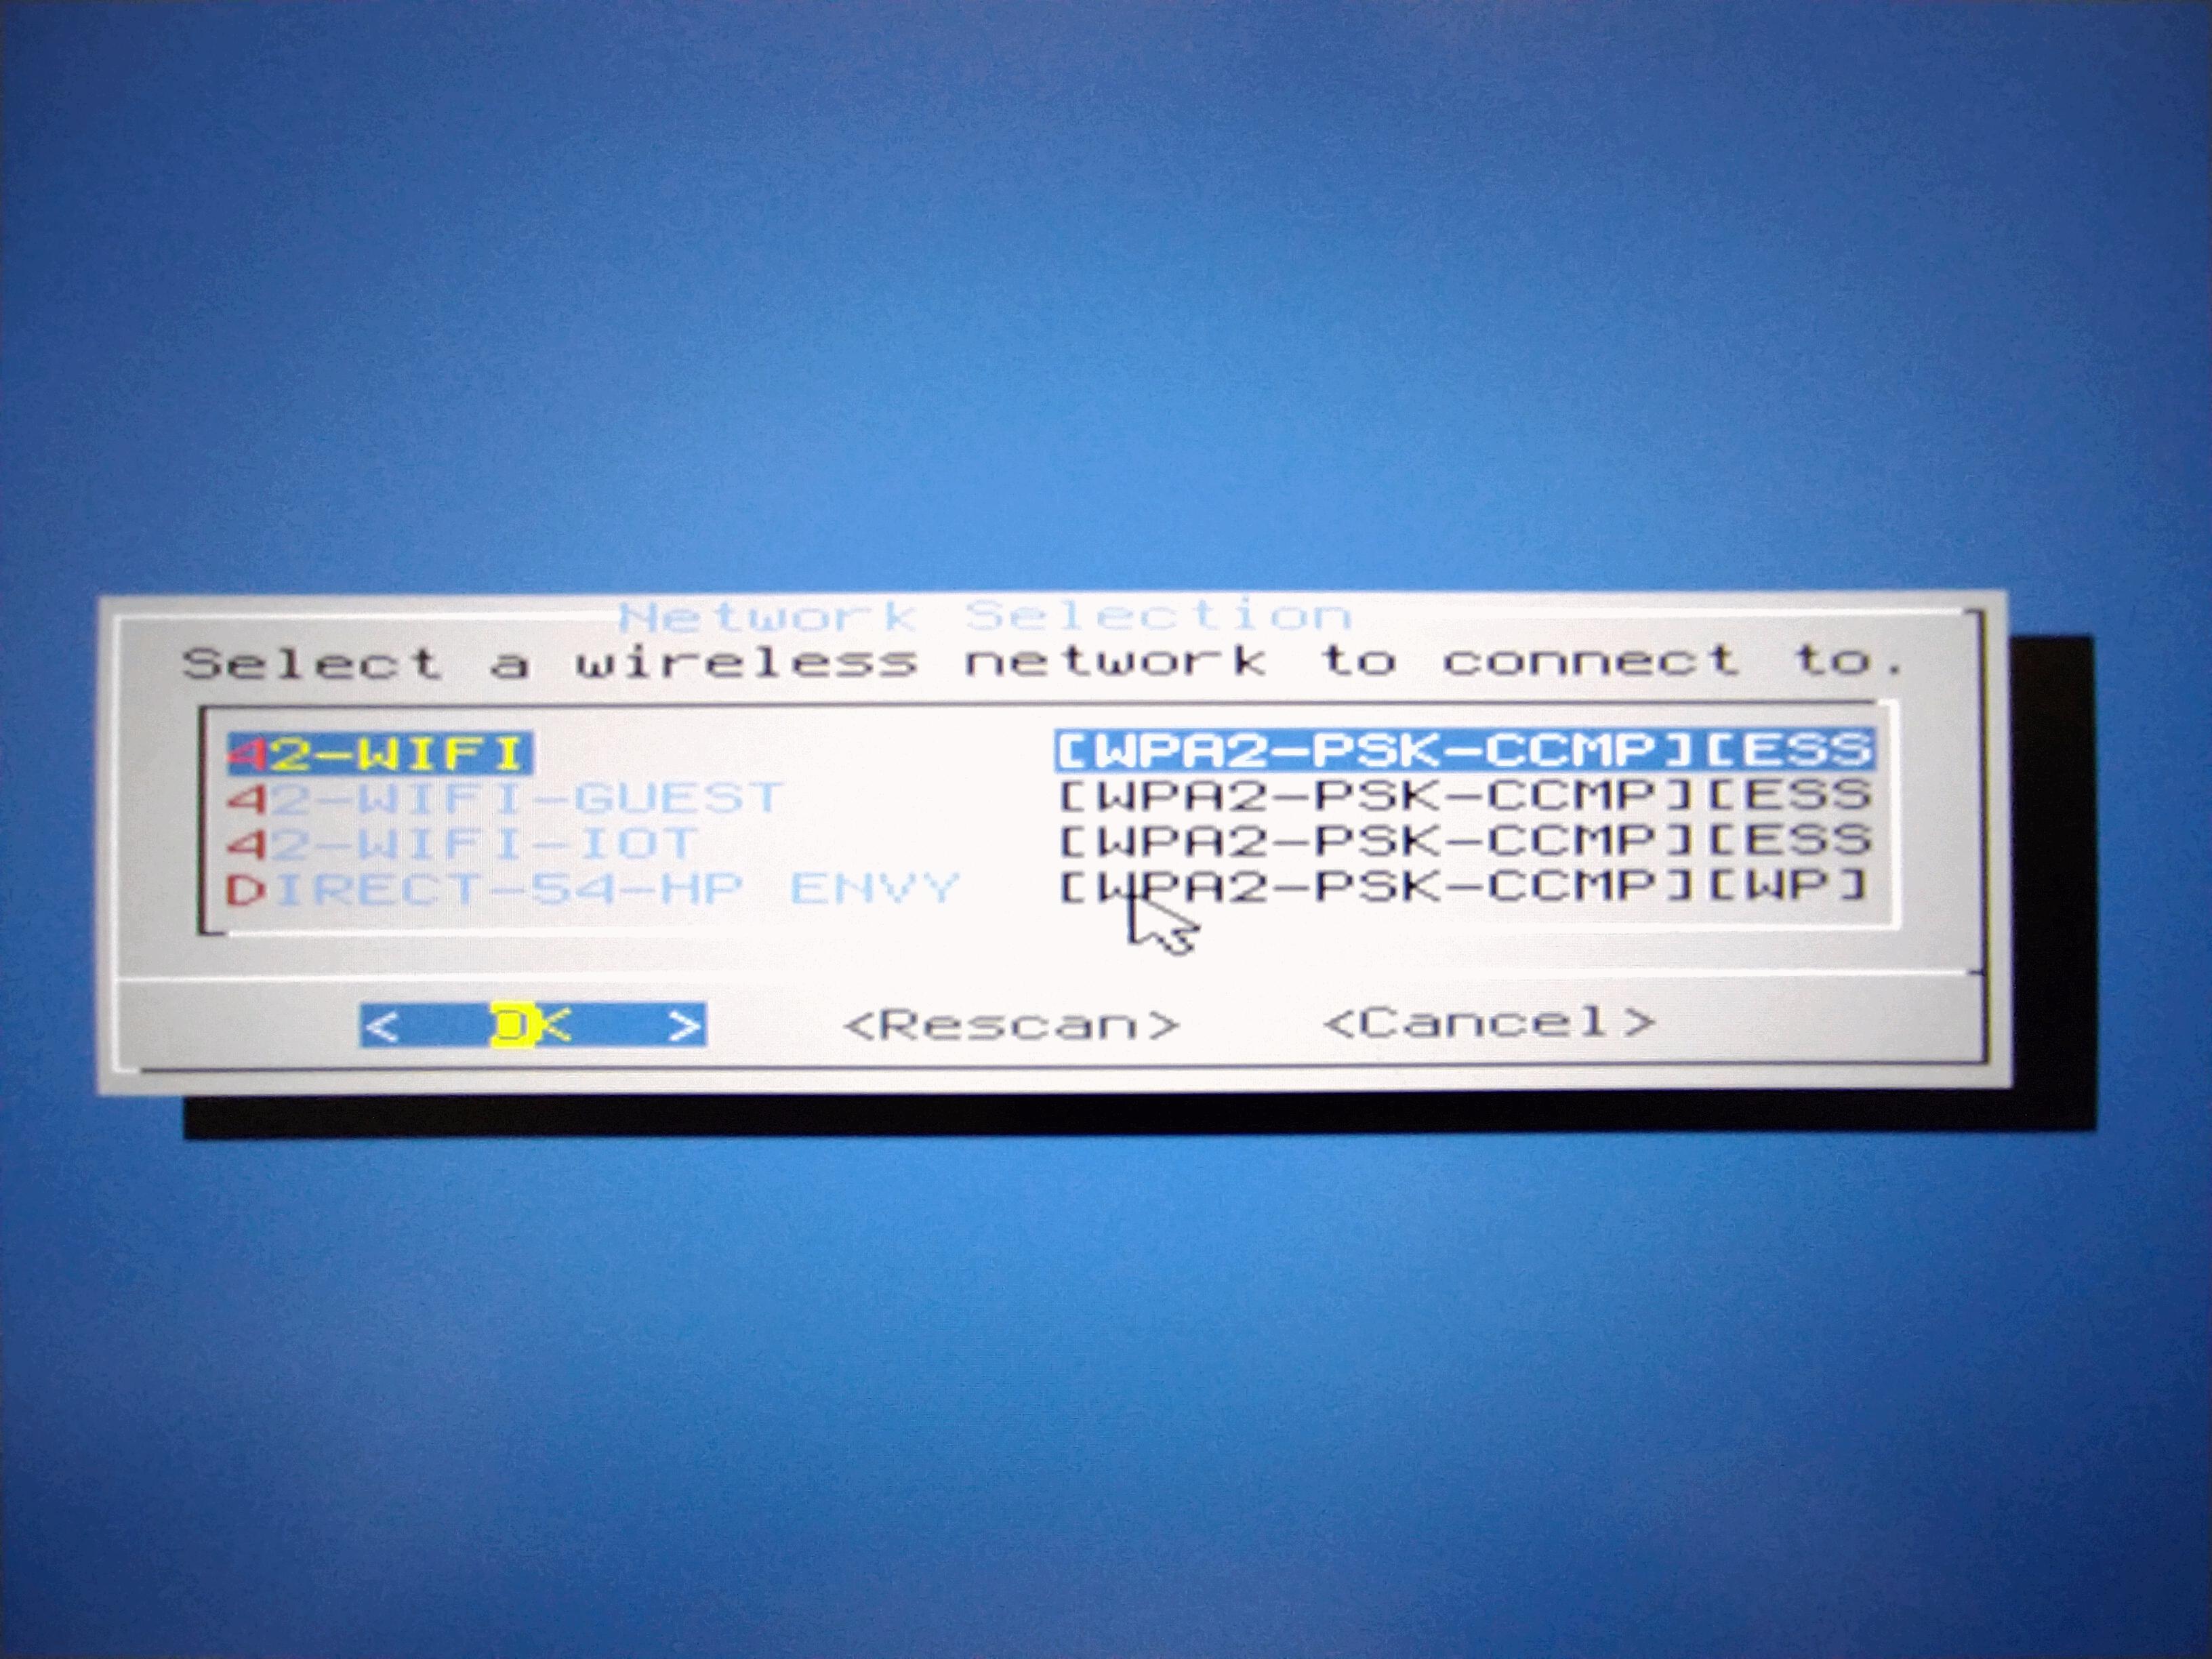
(The 2 first screenshots below are a bit blurry, as those are pictures I took of my screen).
- I am using the integrated Intel Wifi network card,
- which successfully lists the Wifi networks I have at home:
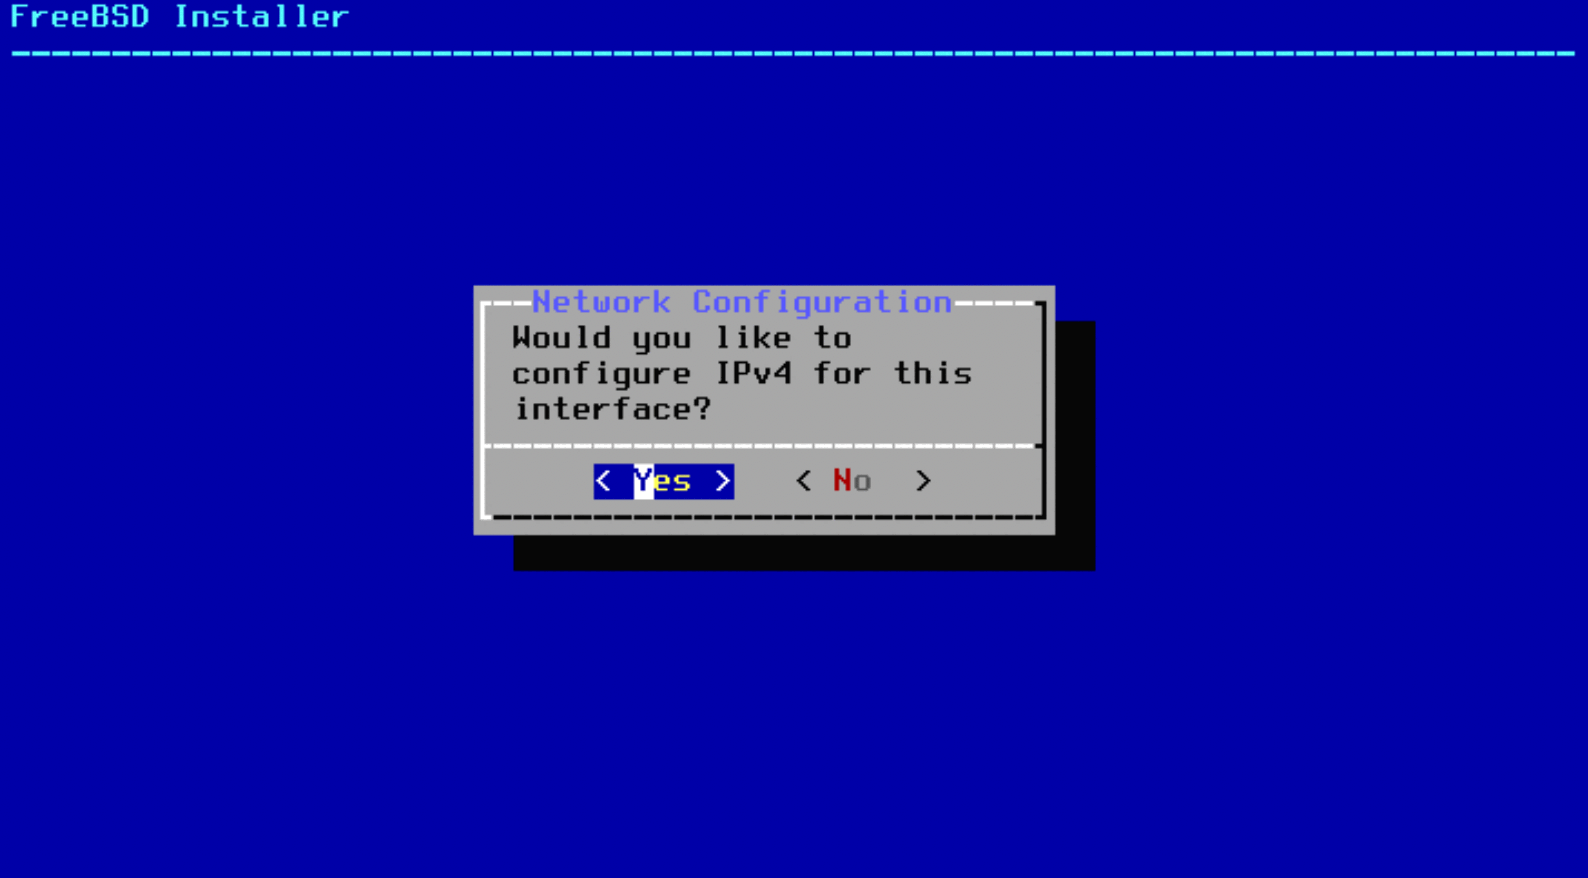
- I'll be using IPv4, and will get IP parameters through DHCP, from my local OPNsense router:
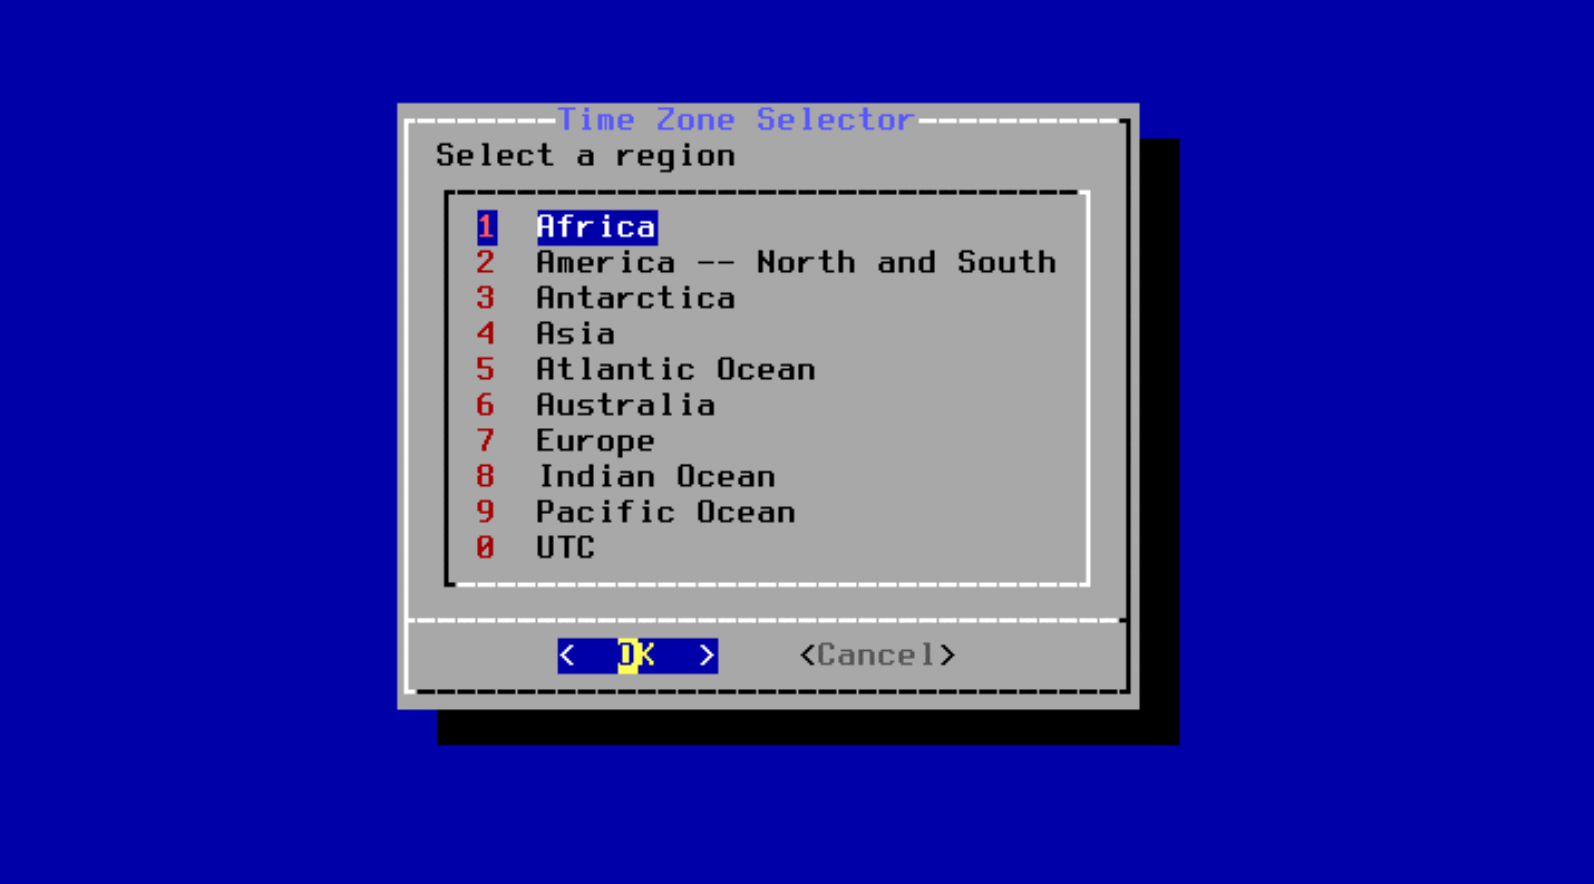
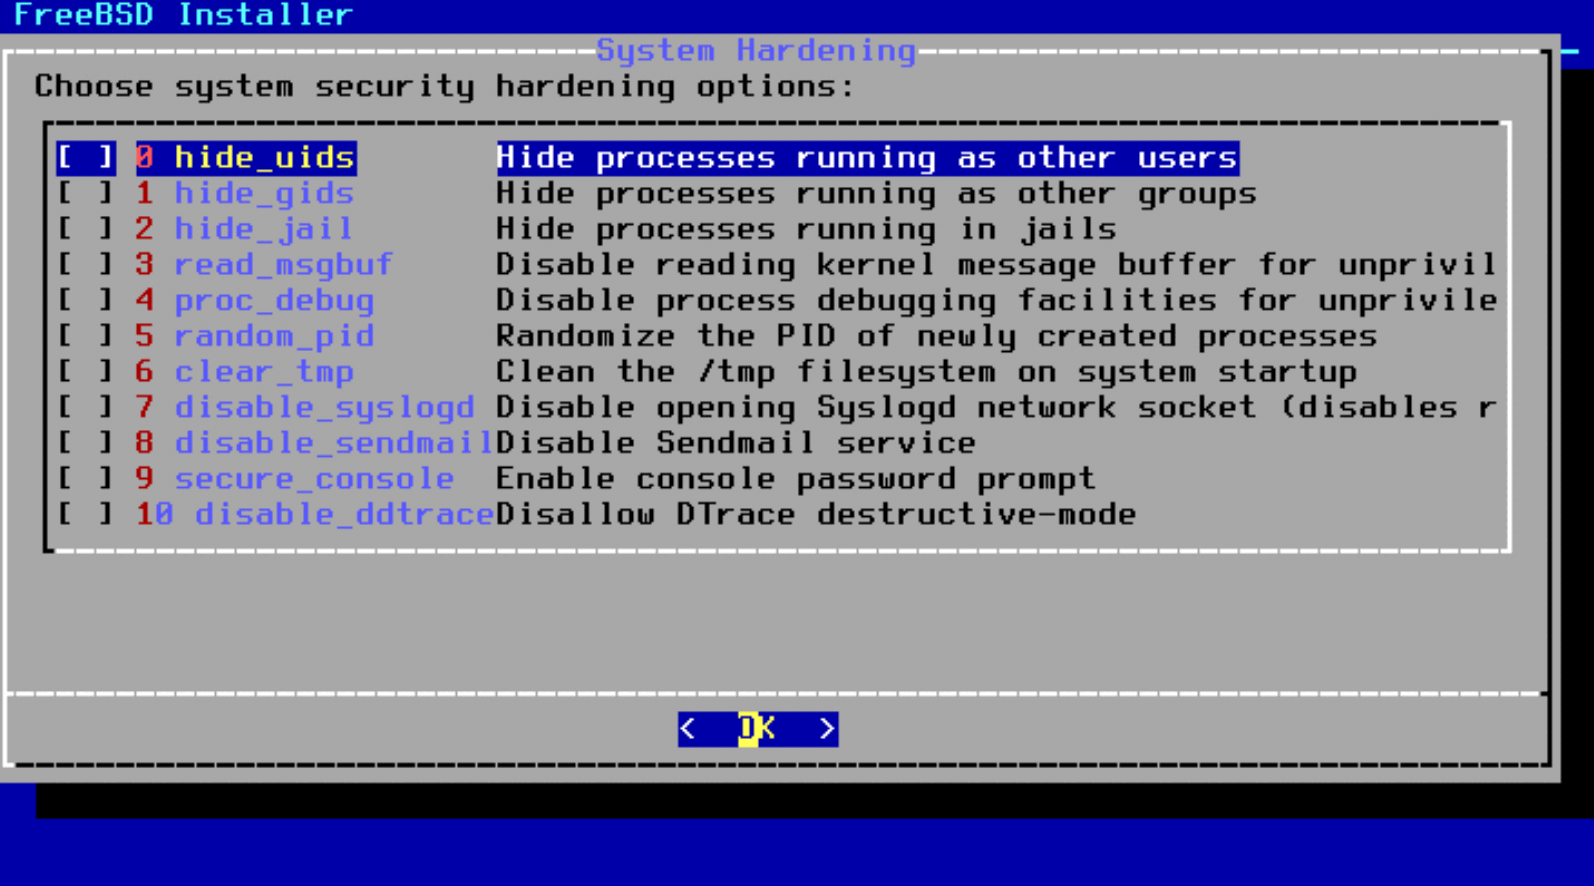
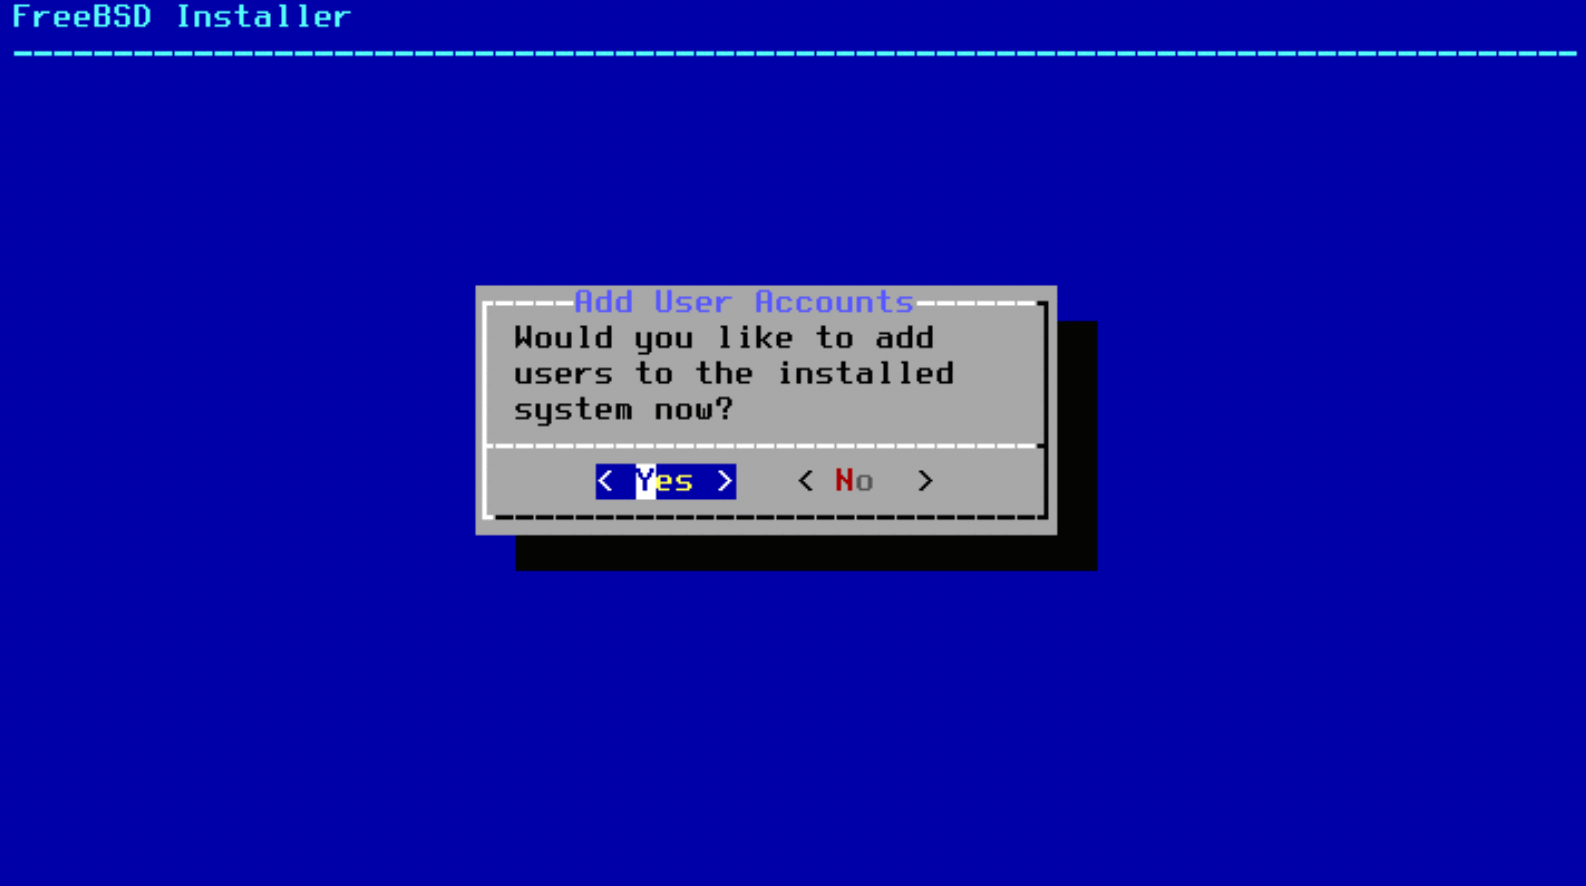
Misc. steps
- Timezone is chosen manually,
- it is possible to harden the system a bit more (e.g. disable some services, hide some processes):
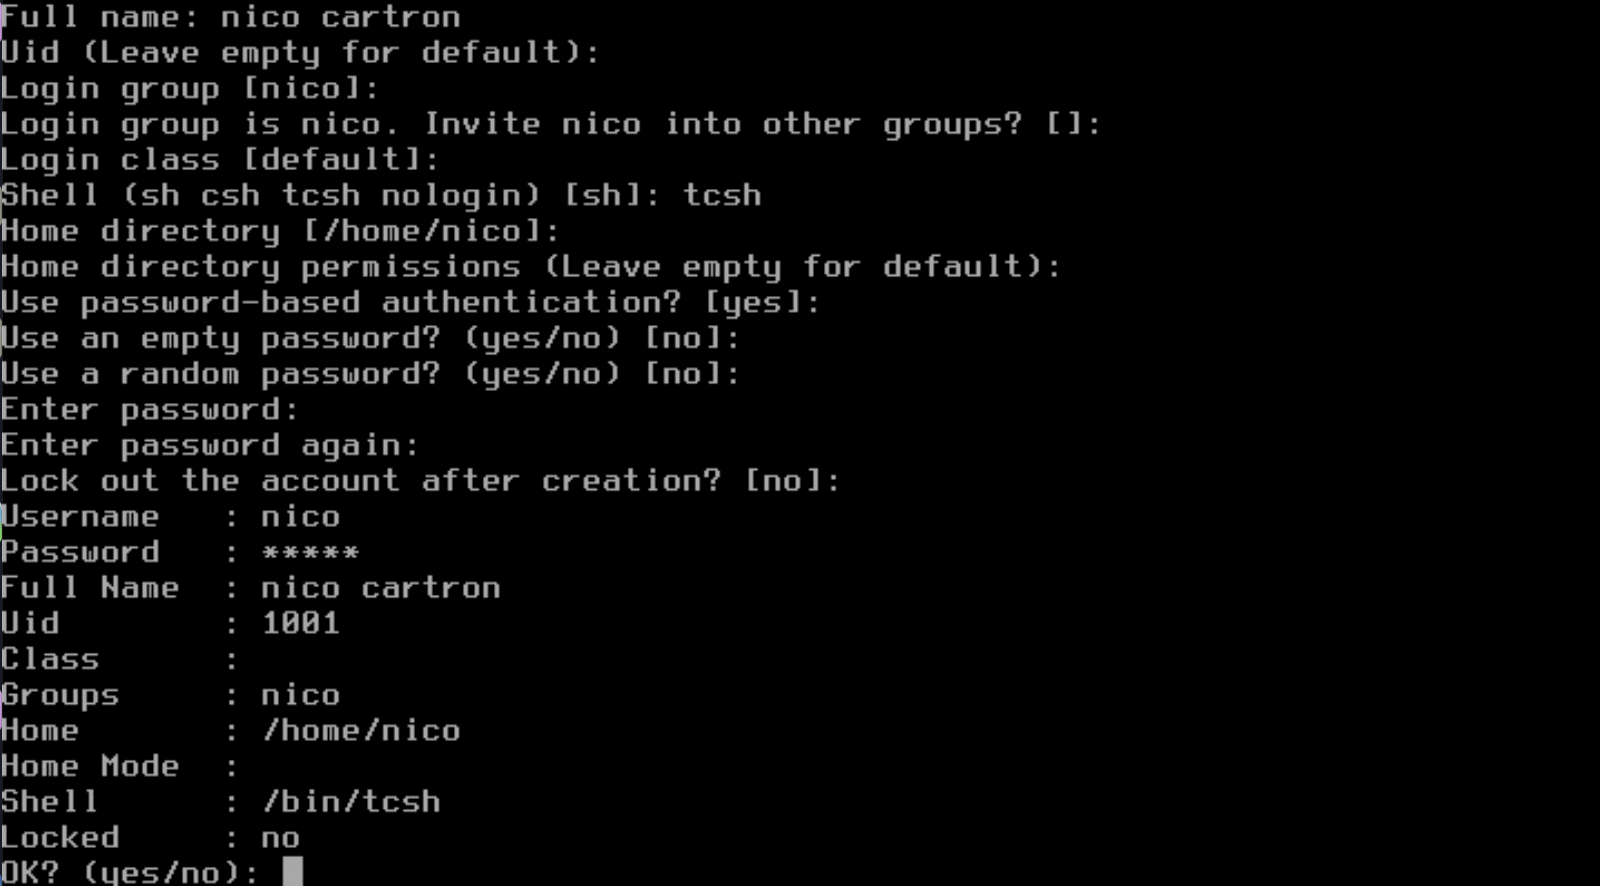
- Next step is to add users to the system (as you probably don't want to run
only as
root:)
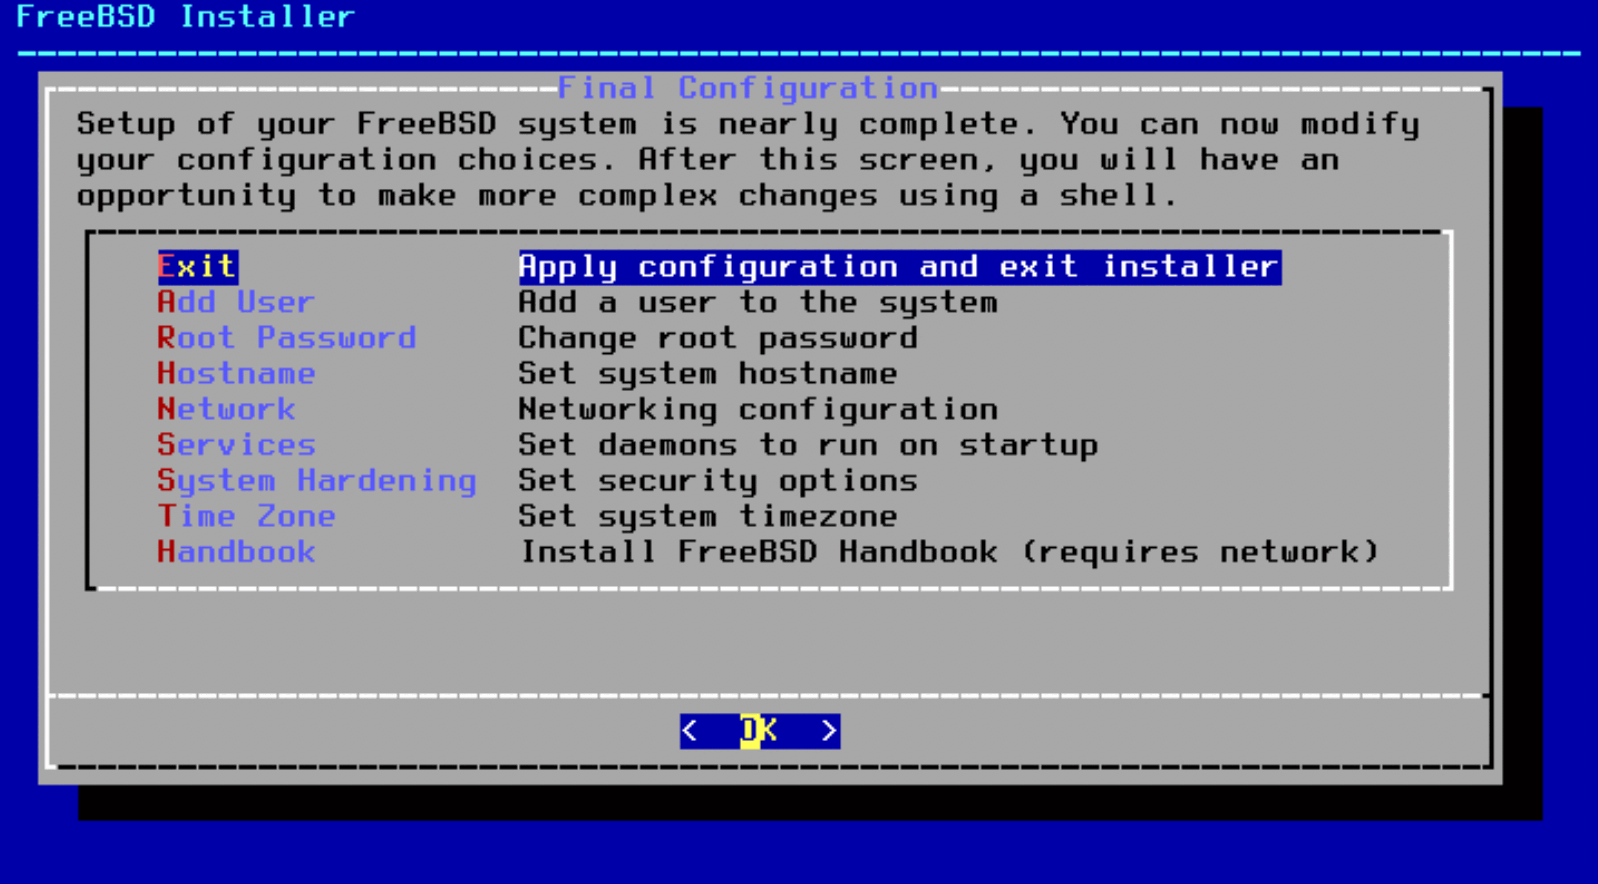
- And finally, you get a chance to modify the system configuration one last time,
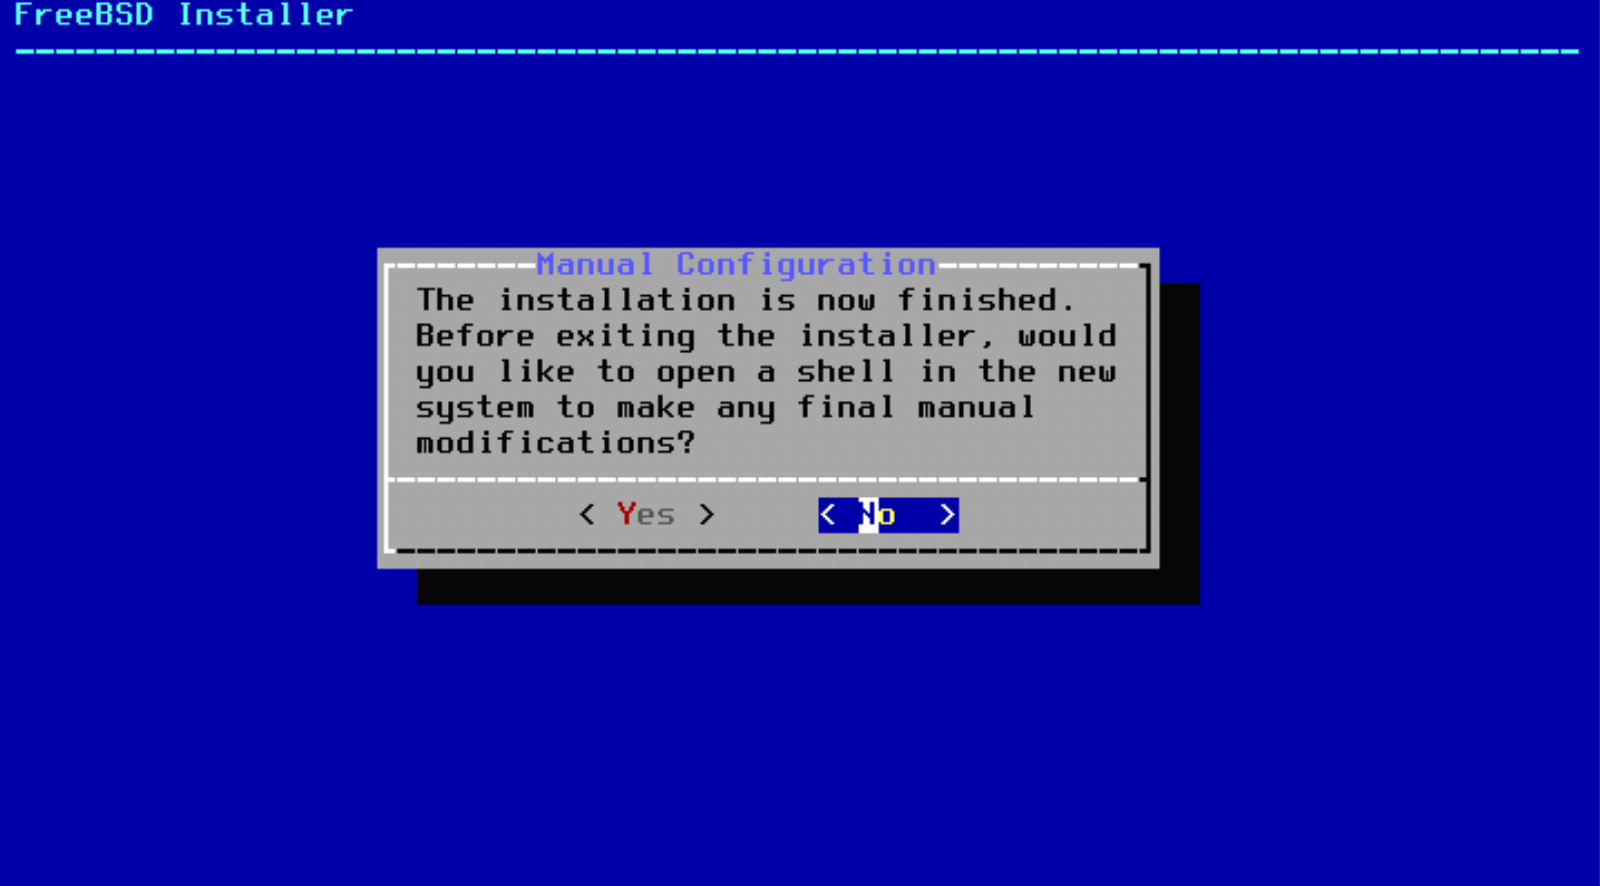
- Before exiting the installer, or open a shell if needs be:
Configuring X
Right, all good, we now have a working FreeBSD workstation, albeit only
accessible through SSH.
How about we add a GUI / desktop manager? :)
I found a very nice guide on the FreeBSD Foundation website and will just do a quick summary here.
Choose between ports and packages
FreeBSD offers two options:
- ports allows a lot more customisation, as you can choose precisely which options you want - but this also means that you need to compile each port, which takes time,
- packages are comparable to Linux distribution packages like Debian: you download ready-to-use software, with all the options already defined - obviously much faster, but you cannot tweak them.
I will be using packages for X, as I don't really need much customisation.
Installing and configuring X
To install X, type, as root:
# pkg install xorg
Then let's configure X:
- add the user you created (
ncin my case) to the video (or wheel) group(s):
pw groupmod video -m ncpw groupmod wheel -m nc - then set the video output mode to
vt- edit
/boot/loader.conf(with e.g.vi) and add this line to the top of the file:kern.vty=vt
- edit
- then install the DRM modules for amdgpu, i915, and radeon video cards:
pkg install drm-kmod - and edit
/etc/rc.conf- for built-in intel video drivers (my case), just add this line:
kld_list="i915kms" - for other video drivers, the above installation of
drm-kmodshould have output what needs to be loaded on boot, just modify accordingly
- for built-in intel video drivers (my case), just add this line:
Start X
We can now start X, with (surprisingly) the command: startx (/!\ as regular
user, not root /!\)
But you'll get a pretty basic Window Manager, so let's install something prettier :)
Setting up XFCE as Desktop environment
Choice?
When it comes to a Window Manager, there are plenty of options nowadays, from the "classical" KDE or Gnome, to the more shiny ones such as Gala (from Elementary OS), and also the "geeky" ones such as i3 - there are too many to list them all :)
Why Xfce?
I like Xfce - it's lightweight, simple to use, doesn't have tons of icons/menu.
Installing Xfce
I am still using packages, so it's as simple as:
pkg install xfce
Starting Xfce
Xfce does not offer a login manager, so you have two options to start it:
start it from the command line, with a
startx.
To do so, you'll need to e.g. add this entry to your ~/.xinitrc:
exec /usr/local/bin/startxfce4 --with-ck-launchThis still requires you to login from the command line, and then
startx, it won't automatically start Xfce once FreeBSD has booted.if you want to automatically launch Xfce, then you actually need a login manager.
There are several options available: GDM (Gnome), SDDM, or something lighter such as XDM - which I'll do.- install the XDM package:
pkg install xdm - enable xdm: add
xdm_enable=YESto/etc/rc.conf - edit your ~/.xsession and add this single line:
exec /usr/local/bin/startxfce4
(don't forget to make it executable:chmod +x ~/.xsession)
- install the XDM package:
And voilà!!! Next time you boot, you'll be presented with the login window:
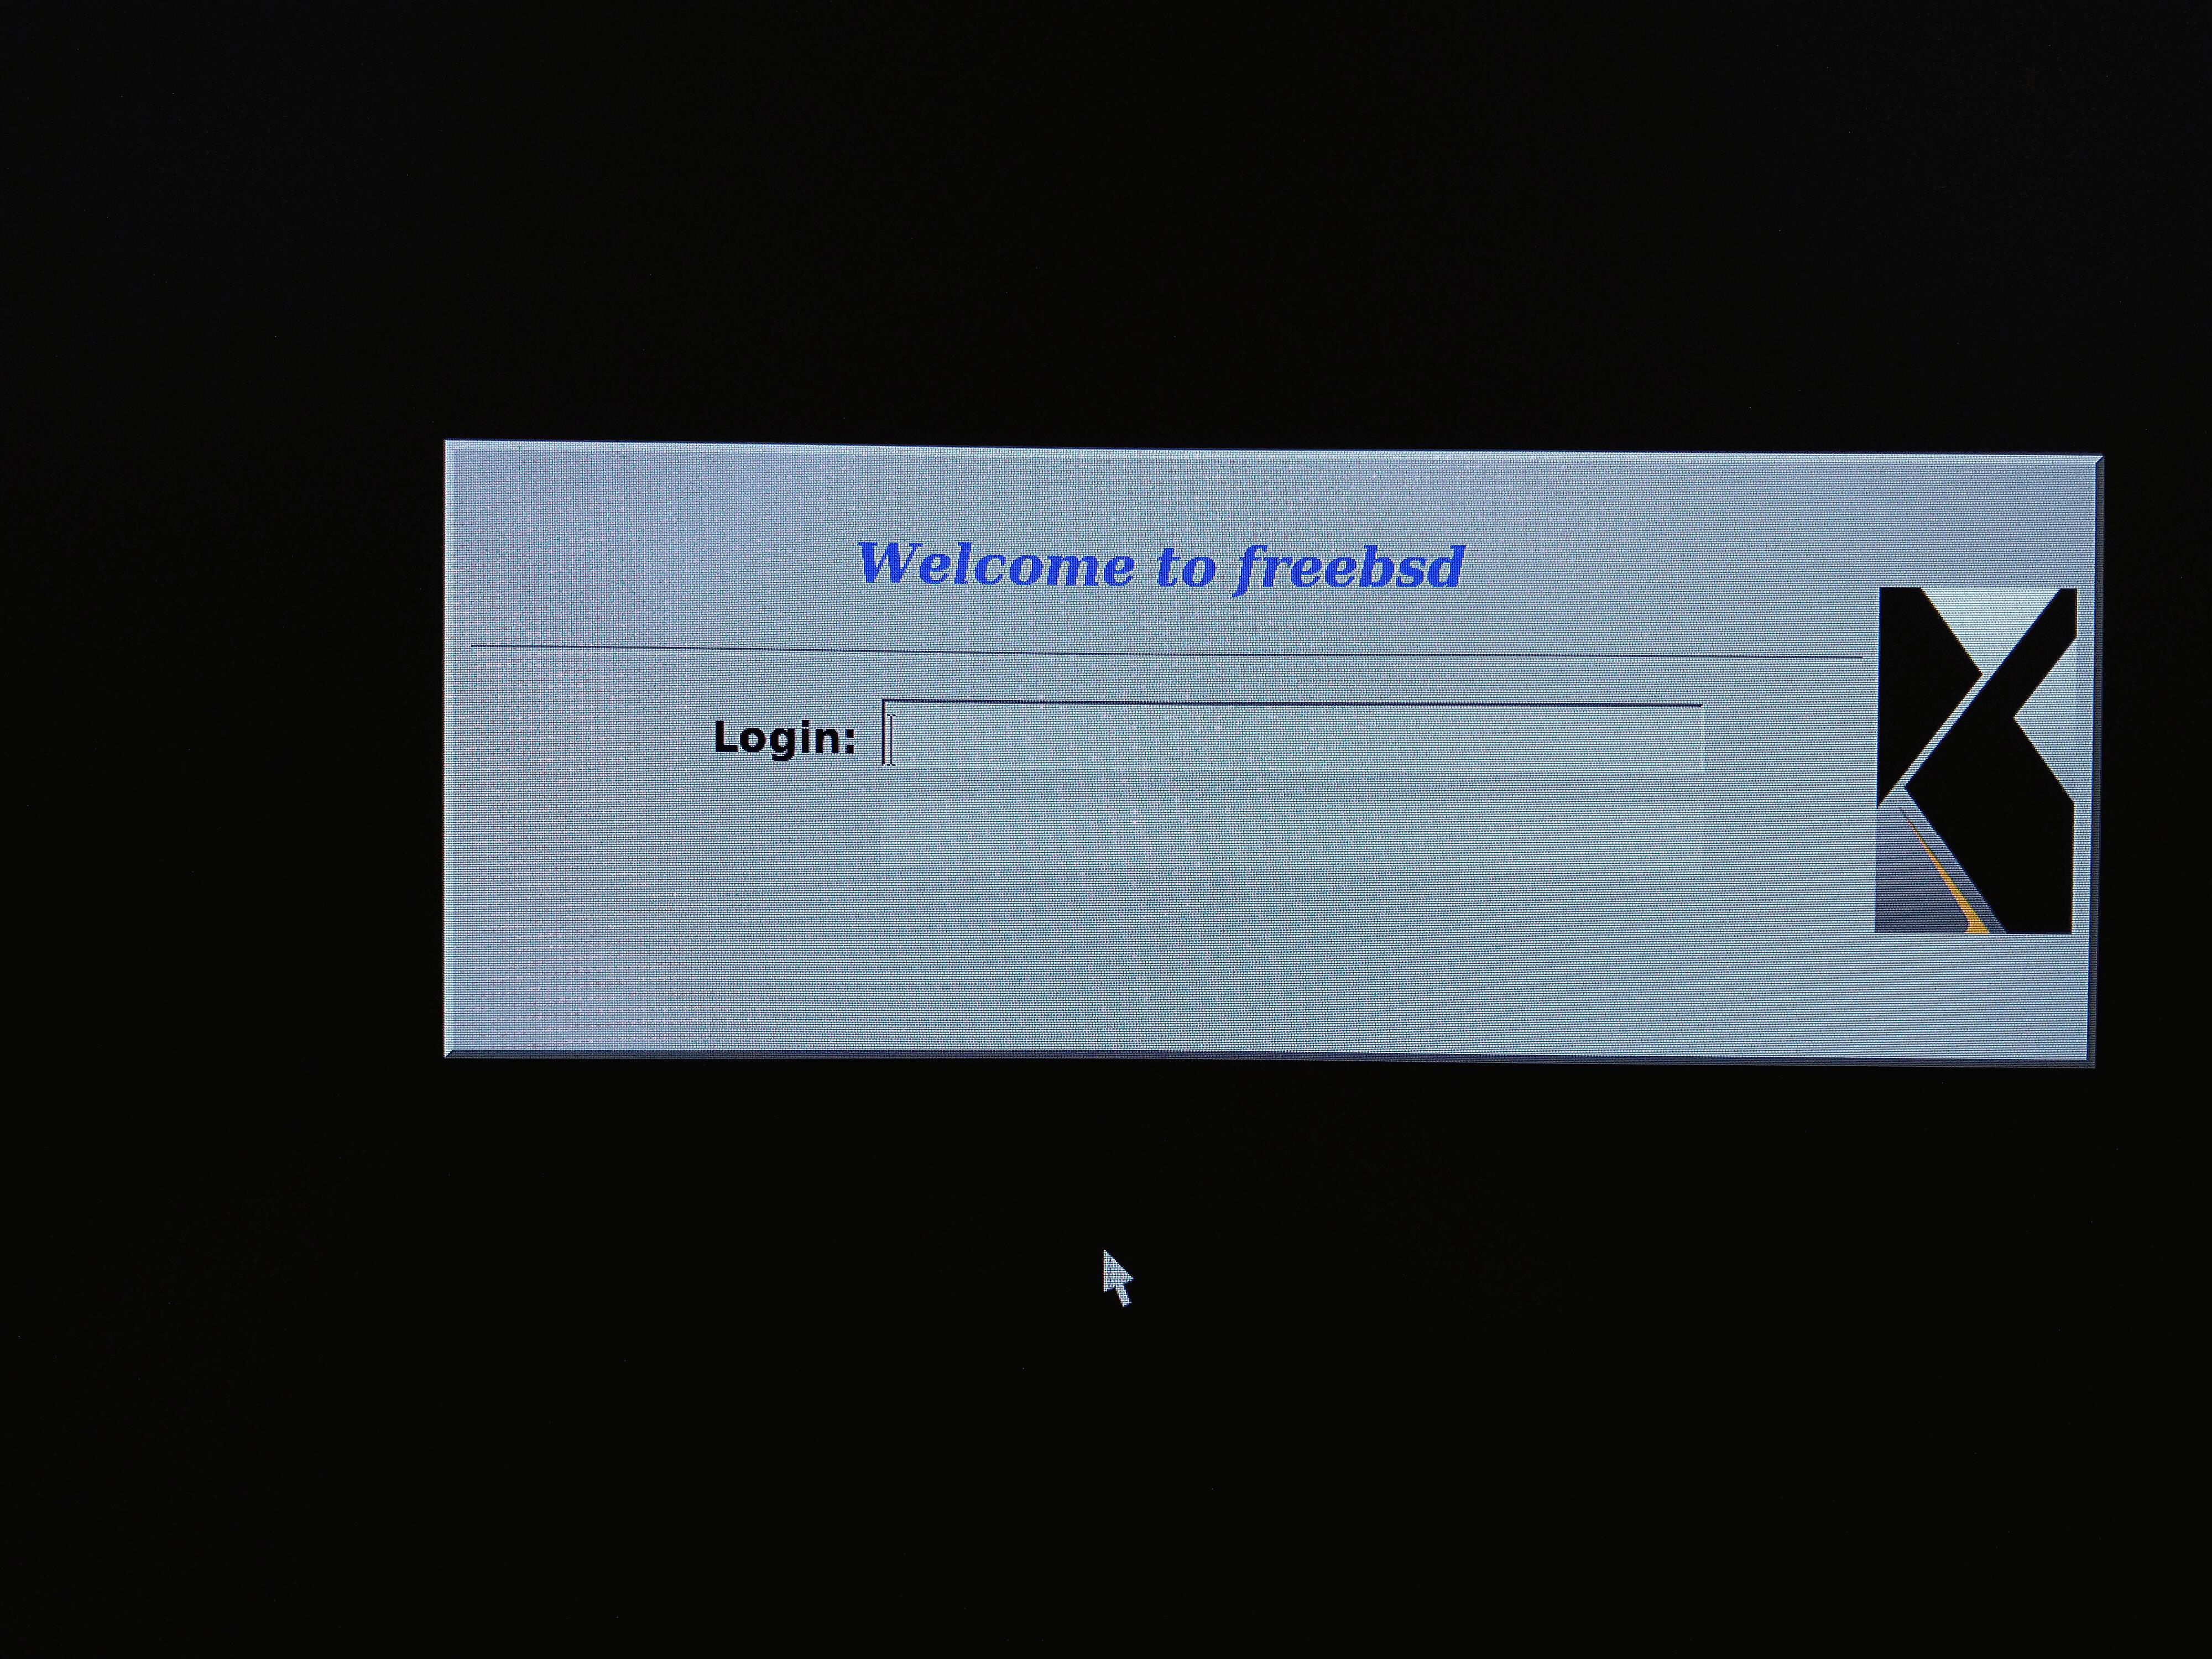
(The picture is a bit blurry as I took it with my phone, it's not a "proper" screenshot).
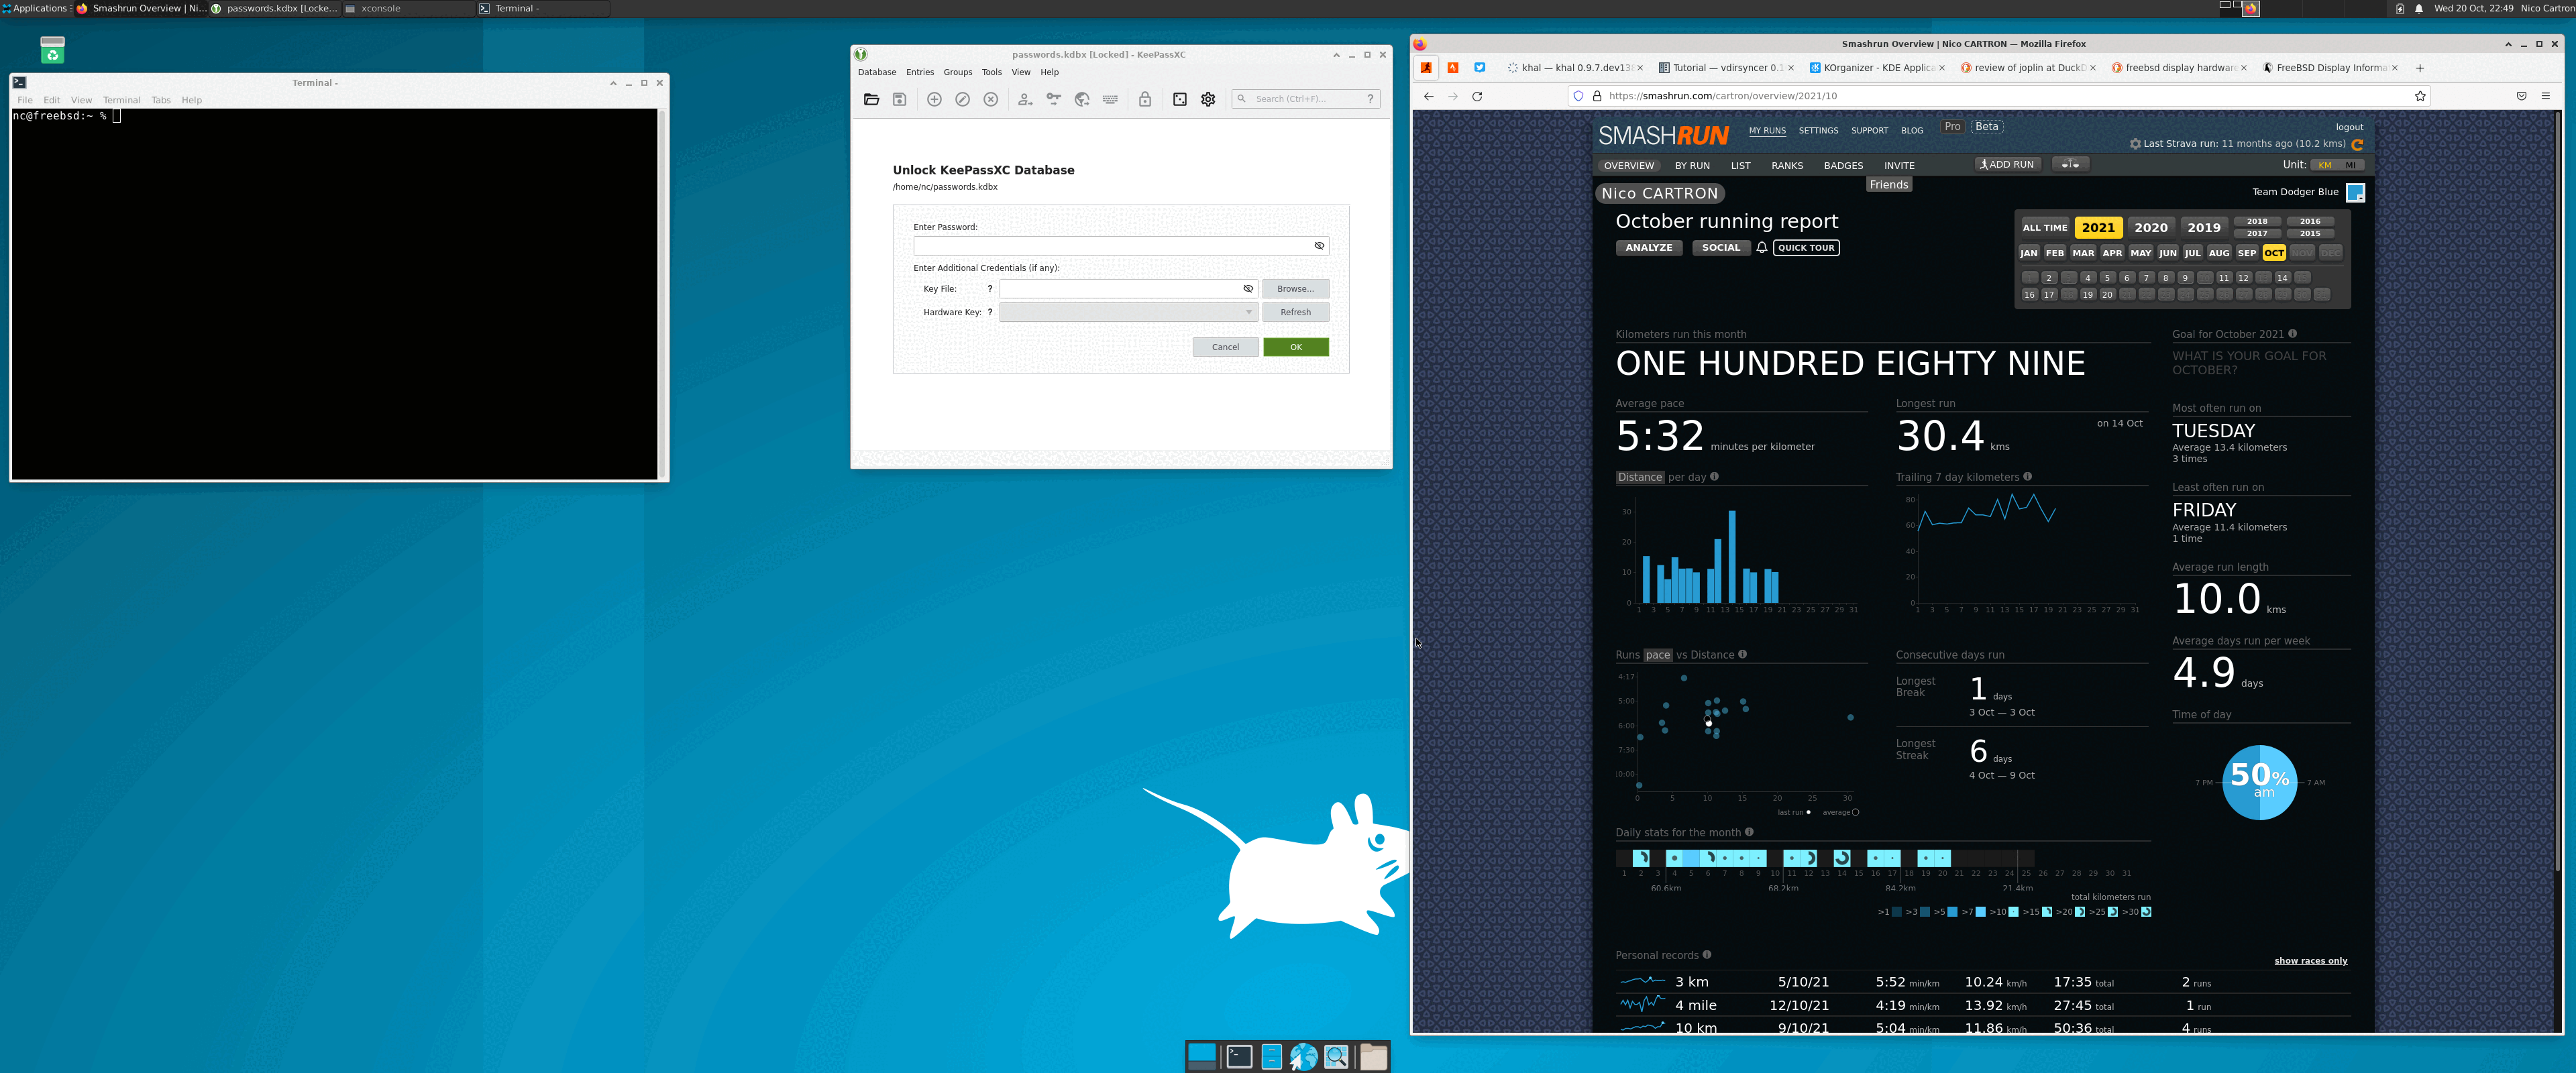
And here is Xfce in action:
Few additional steps
- enable SSH (useful when I need to access my NUC):
echo "sshd_enable=yes" >> /etc/rc.conf - install Firefox:
pkg install firefox - do the same for any other package you deem relevant (e.g. keepassxc, ...)
Wrap Up
Voilà! I now have a fully fonctional FreeBSD desktop, running super smoothly on this NUC.
The process was surprisingly smooth: all the hardware has been correctly detected, even the Wifi adapter which usually cause troubles.
Tags: BSD, Geek, Opensource